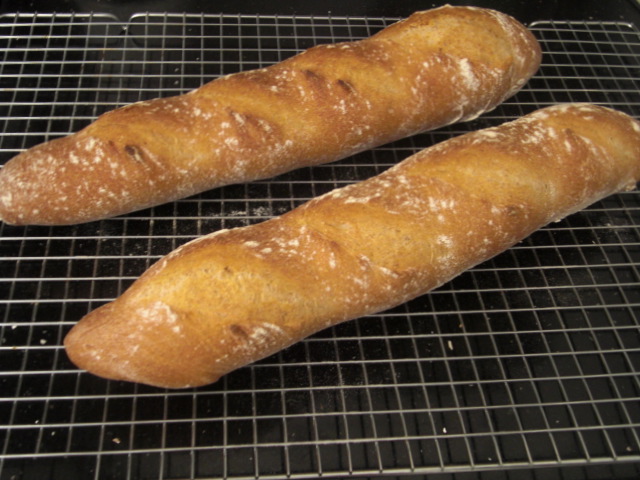
 If you’ve been following Sustainable Pantry you know that I have been trying to create my own sourdough starter for months now. Thanks to persistence, comments from readers, and a few great resources I finally did it! (see previous post to find out how). Last night I put that starter to work, and the results are delicious, and oh so satisfying.
I admit, this is not exactly the simple, no fuss recipe you have come to expect from Sustainable Pantry, but this is a starting point, you can be sure there will be simpler sourdough recipes to come.
This recipe is from Local Breads by Daniel Leader, the founder of Bread Alone.
Sourdough Batards (fat baguettes) from Local Breads (modified slightly)
- 350 grams (2 1/4 cups) of bread flour (I ALWAYS use King Arthur’s)
- 120 grams ( 3/4 cup) whole wheat flour (I used organic stone-ground)
- 30 grams (1/4 cup) of rye flour (I used organic)
- 125 grams of sourdough starter (size of a tennis ball)
- 1.5 tsp of kosher salt
- 1.5 cups of water (I used room temperature spring water)

Mix the flour and the water and let it soak for 20 minutes (this gives the flour time to absorb the water). Then mix in the starter and salt.
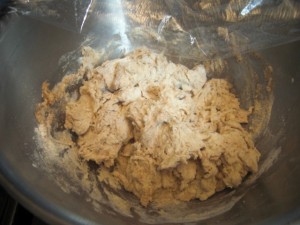
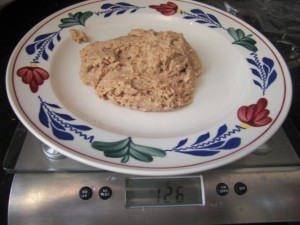
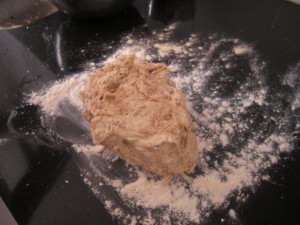
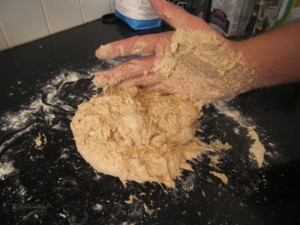
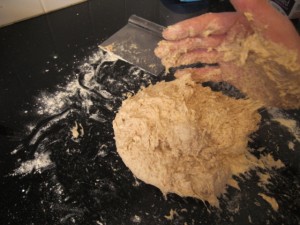
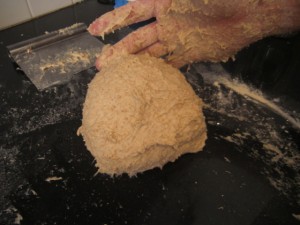
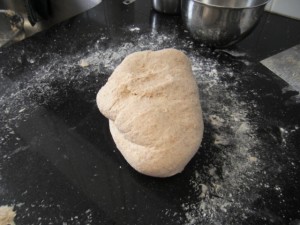
It will be quite sticky, and difficult to handle, but keep at it. Eventually it will turn smooth and not so sticky. It took me about 20 minutes to get to the 5th picture below. (if you don’t want to knead, check out one of these other delicious bread recipes)
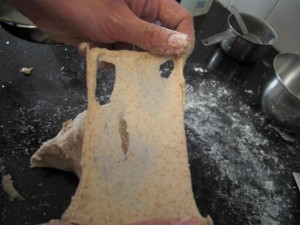
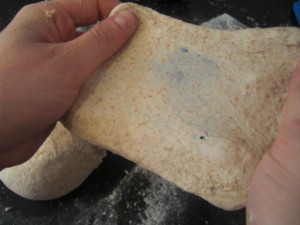
In Local Breads, he has a trick to tell if your dough has been kneaded enough: Pinch off a piece the size of a golf ball, and gently stretch it. If you can get it thin enough to see through without tearing it, it’s ready! Our dough kept tearing, but it came really close, and in the end it still worked out.
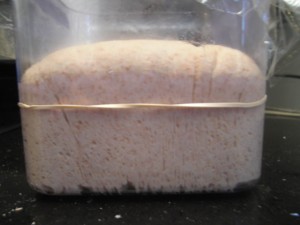
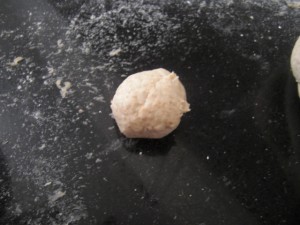
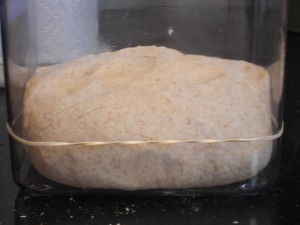
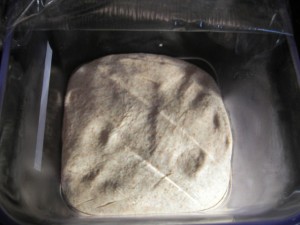
Once the dough is ready, put it into an oiled container and let it rise at room temperature for an hour. Give the yeast some time to feed, you won’t see much rising yet (we didn’t).
After an Hour:
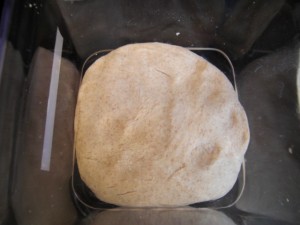
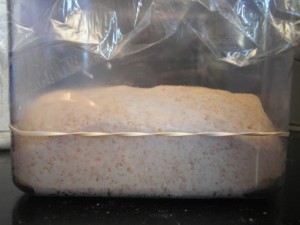
Turn the dough: this is a common step that is done part way into the dough rising. Pat the dough into a rectangle and fold it like a business letter. The top comes down to the bottom third, and the bottom comes up to cover it. Then put it back in the container seam side down, and let it rise again for 2-3 hours, this rose for another 2:45:
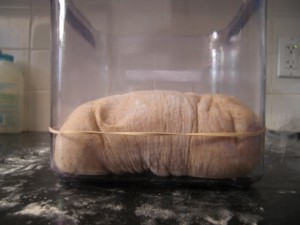
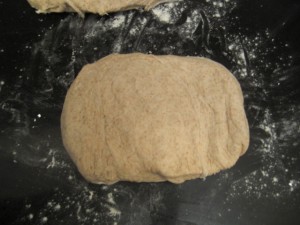
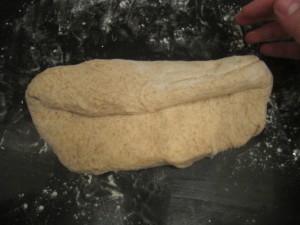
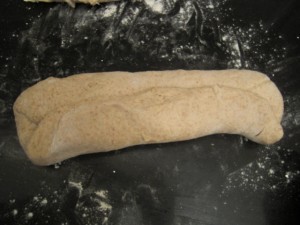
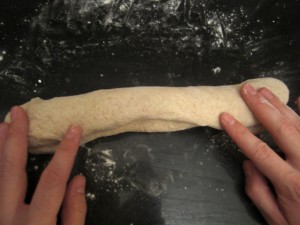
The dough is now ready to be shaped. You can make any shape, but I followed the book‘s lead and made Batards, a shorter, fatter baguette. To do this, cut the dough in half with either a knife or a bench scraper. Next pat the dough into a flat rectangle about 5 inches wide, and 3 long. Then fold the top edge in towards the center, closing the seal gently with the heel of your hand. Then, fold the bottom half up to the center, so they overlap with about an inch and again seal the seam. And finally, fold it in half the long way so you have a skinny log.
Next, you again seal it with your palm, being careful not to flatten the dough in the process. And then roll it out like a Play-Doh Snake, only its not Play-Doh, it Sour-Doh! Put a little extra pressure as you move your hands out to the edge to create the pointier edges of the Batard.
We’re almost there!
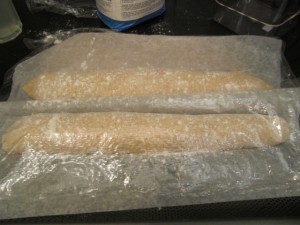
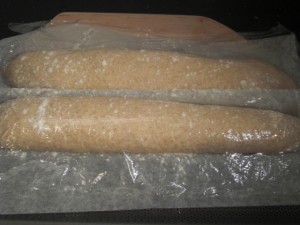
Now the dough rises for another 1-2 hours, on a couche (a canvas cloth that cradles baguettes or other shapes as they rise, and allows them to keep their shape), I used parchment paper on a baguette pan, but you could also roll up kitchen towels and slide them under the parchment between the batards to cradle them. Dust the tops with a little flour, and cover with plastic wrap while they rise.
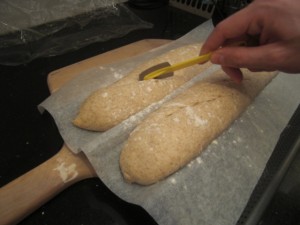
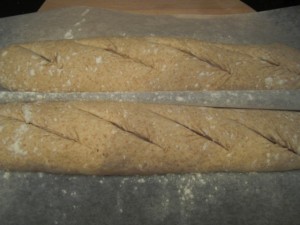
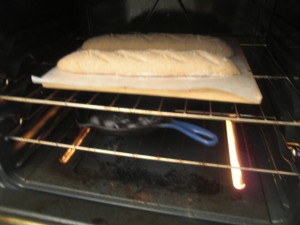
Slash 3 inch slashes in the top with a very sharp knife or lame dipped in water. And they’re ready for that 450 degree oven that’s been preheating with the baking stone in the middle rack, and a skillet in the bottom.
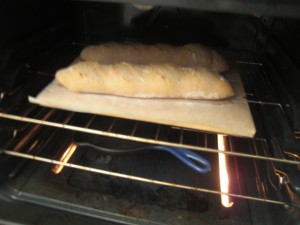
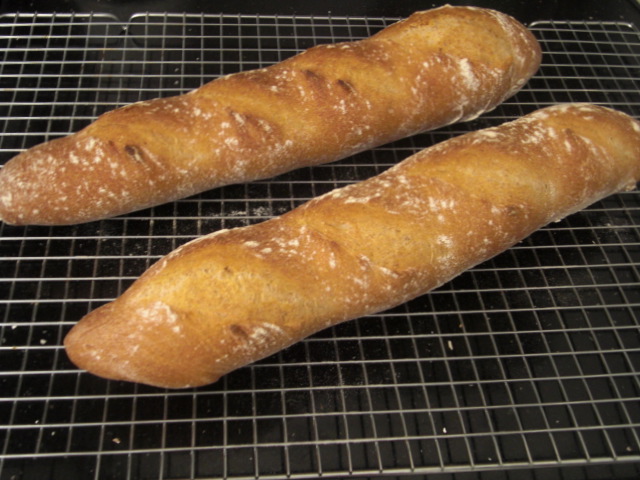
Into the oven it goes, along with a few ice cubes into the skillet to create steam, which is the makings for a heckuva crust. Let it cook for 15 minutes, then lower the heat to 400 and cook for another 20-25 or until the crust is gorgeously brown. And that’s it!
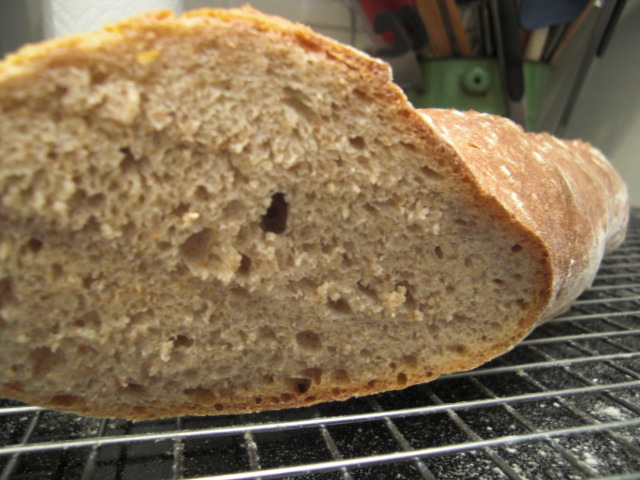
This came out great! I could have slashed deeper to get a nicer shape, but the crust was so good, and there were some real sour undertones!
If you are even considering attempting this recipe, I strongly recommend picking up Local Breads by Daniel Leader. Along with this recipe and a ton of others, it has a wealth of baking tips, instructions on making your own starter, and some beautiful pictures.
While this seems somewhat involved, it’s actually not. Like most breadmaking, it requires only a few minutes of work every couple of hours. Most of the time is spent waiting for the next step. So as long as you’re going to be around the house for the better part of the day, you can make a DELICIOUS bread with minimal effort. (blogging the experience, well that’s another story!)

Looks delicious! Thanks for making the effort to share your experience, the hard work making the post shows!
I have always wanted to dive deeper into the world of bread making, this article has given me the power to move forward with that idea… Great article! I love the idea for this blog, man, keep it up!
Eric @ deepesthealth.com
Glad to offer some inspiration! If you’re just getting into the world of bread baking, I would start with the ‘Quickest Easiest Bread (Allow 24 Hours)‘, this is a fool proof recipe, and delivers an amazing loaf! You just need a cast iron pot with a lid, and a bit of planning ahead. Good luck!
I LOVE it! I want the recipe so I can convince my Mom to make it!!!!!!!
Mia Rose
Thank Mia, I’m glad you like it. I’ll definitely bake you some fresh bread next time I visit. Lots of love!