Mushroom and Polenta Squares

DSC_8566

I love polenta.   It is one of the quicker cooking whole grains (done in under 20 minutes), and it is extremely versatile.  It can be cooked into a layered casserole, made smooth and creamy, or it can be baked and cut into squares, which is what I did tonight.

I made this dish with kale, and shitake and maitake (hen of the woods) mushrooms.  Mushrooms go so well with polenta, and they also boost immunity which makes them a great choice for this time of the year.

Mushroom and Polenta Squares

  • 1 cup coarse ground cornmeal
  • 2 garlic cloves, minced
  • 1/2 cup corn kernels (fresh or frozen)
  • 2 cups sliced mushrooms (I used shitake and maitake)
  • 1 cup kale, washed and chopped
  • 1/2 cup grated Parmigiano-Reggiano (or other dry, aged cheese)
  • 2-3 cups water
  • 1/2 teaspoon dried thyme
  • Salt, freshly ground pepper, olive oil
  1. Preheat oven to 350F.
  2. Bring 2 cups of water to a boil. Once boiling, add the cornmeal, whisking every few minutes. Add corn, thyme, and salt and pepper. Turn heat to low and continue to cook for about 10-15 minutes. If the polenta becomes too stiff, add a little more water. (You might have to add up to a cup more water–add 1/4 cup at a time.)
  3. Meanwhile, heat a large saute pan over medium heat. When hot, add olive oil and garlic. Cook for a few minutes until garlic is golden. Add mushrooms and a little salt, and continue to cook for about 4-6 minutes; the mushrooms should be giving off some liquid.
  4. Add kale and about 2 tablespoons of water to the mushrooms, then cover the pot for about a minute, until the kale softens up.
  5. Add the mushrooms and kale to the polenta. Be sure to add all the liquid from the mushrooms. Mix the cheese into the polenta, and spread the mixture into a Pyrex dish.
  6. Bake for 10-15 minutes. The dish can be eaten right away, or cooled completely (and refrigerated), cut into squares, and served at room temperature.

Invest a little time, make a lot of dough

multigrainMaking bread and pizza at home is all about planning. Once you’ve got the timing right, it requires very little active work.  I hadn’t made bread at home in over a month since we had been out of town, and well ya know,  summer… but when I saw artisanal multigrain loaves in the store selling for close to $5, I had a sudden burst of inspiration (funny how that works huh?).

Sunday is our day to prep our week’s food, and my contribution was one loaf of multigrain whole wheat bread, and dough for two large pizza pies to be eaten at a later date.  Sounds like a lot of work, but all this took roughly 15 minutes of actual work and about two and a half hours of listening for timers to ring and making decisions.   The only semi-technical part is feeling for when the dough is right, but the following two recipes should give you dough that is easy to handle and elastic, not wet and tacky .

Sunday Morning: Soaked the (Multi)Grains

When I woke up, I started soaking some grains that would be added to both the bread and pizza dough.  Uncooked grains add wonderful texture to bread, but they need to soak for a while, so it’s important to get that started early.  The grains I used were a small handful each of:

  • Millet
  • Oats
  • Flaxseed Meal
  • Coarse Cornmeal

dry grains soaking grains

I put those in a small bowl and added enough water to go about an inch over the grains, then I covered the bowl with a plate.    Ideally you want to soak the grains overnight, but I forgot.  We went out for about five hours, and when I got home and started on the dough the millet was still a little on the crunchy side but I used  it anyway and I ended up really liking the extra texture.

Sunday Late Afternoon: Started the Multigrain Whole Wheat Loaf

  • 6 ounces white flour (about 1.5 cups)ingredients
  • 10 ounces whole wheat flour (about 2 cups)
  • 1.5 cups grain mixture (see above)
  • 1 tsp kosher salt
  • 1 tsp active yeast
  • 2 Tbsp extra virgin olive oil
  • 3/4-1 1/2 cups of water

In a food processor fitted with the blade attachment (a la Bittman), add all the dry ingredients and mix for about 30 seconds.  Add the grain mixture and the olive oil, and with the food processor running, start pouring in the waterBecause there is a lot of water in the grains, the amount of water you need to add will vary, so add it slowly until a dough ball forms and starts moving around in the chamber.  I added about 3/4 cup

multigrain-1Process-6

Turn the dough out on a floured surface and knead for just a few seconds.  Form it into a bowl, and let it rise in an oiled bowl covered with plastic wrap until it doubles (1-2 hours).  Our kitchen was HOT, so after about 45 minutes it had risen plenty.

multigrain-2multigrain-3

Preheat the oven to 400 F.

Turn the dough out onto a floured surface again and let it sit covered with plastic wrap for about 20 minutes.

Dusting with flour as needed, shape the dough into a flat rectangle the width of your loaf pan.   Roll up the dough and place it in the oiled pan seam side down.  Dust with flour and cover with plastic wrap and let it double again (1-2 hours).  (This is a great time to put about 5-7 minutes of work into making the pizza dough.  See below.)

multigrain-4multigrain-5


multigrain-9


If you want seeded bread: scramble an egg and brush it on the top of the loaf, sprinkle on the seed mixture of your choice (try sesame seeds or rolled oats).

Slash with a sharp knife or lame, and put it in the center rack of your oven.  After about 20 minutes rotate the pan for even cooking.  It should cook for about 40 minutes or until it has a nice golden brown crust that gives a good thud when knocked with the back of a chef’s knife.  Remove from pan and cool on a cooling rack.

multigrain-10

We’ve been having this as toast for breakfast, I made an egg and cheese with it this morning, and it was also a great accompaniment to Tuesday’s ratatouille (see previous post).  Not bad considering the ingredients used cost about $0.40.

Sunday After the Bread Was Shaped: Made The Multigrain Whole Wheat Pizza Dough (enough for 2 large pies)

Equipment note: Pizza does require some special equipment, most importantly a pizza stone, followed closely by a pizza peel (the huge wooden pizza spatula that is oh so fun to use) and finally a pizza slicer (also fun).  I strongly suggest you invest in at least the stone and peel, especially if you’re interested in making artisanal bread (not in a loaf pan) as the hot preheated stone is what gives you a super crust, and you can’t really get that without it.   You can find this equipment and more on our amazon store (CLICK HERE), and yes, your purchases do help us keep our site running, so thank you.

  • 10 ounces of white flour
  • 12 ounces of whole wheat flour
  • 1/2 cup soaked uncooked grains (see above)
  • 3 Tbsp dried oregano
  • 2 tsp yeast
  • 2 tsp salt
  • 3 Tbsp extra virgin olive oil
  • 1-1 1/2 cups water

Follow the exact same procedure as for the sandwich loaf above.  After the dough has risen the first time, split it into as many pies as you’d like to make, and either start flattening them out into a pie, or do what I did and wrap each dough ball with plastic wrap, put it in a freezer bag, and throw it in the freezer until you’re ready to use it.  The morning that you’ll be making the pizza, just take the dough out of the freezer and put it in the fridge.

to freeze-1 to freeze-2

Wednesday after work: Made a Delicious Pizza

Making the actual pizza is a snap:  Preheat the oven to 500 F with the pizza stone in the center of the oven.  On a cornmeal (or flour) dusted pizza peel, pat, roll or toss the dough until you’ve worked it into a pie as thick or as thin as you’d like.  Add your toppings, and slide it onto a pizza stone that has been heating in a 500 degree oven.  Cook for about 10 minutes, or until the crust is just browning.  Let it rest for a couple of minutes before slicing.

We turned one of the frozen dough balls into a fantastic pizza with leftover tomato sauce from the ratatouille, slow roasted red onions, Bulgarian feta and anchovies, drizzled with a balsamic reduction.  It was super supper.

pizza ingredients2 slices

Polenta with Summer Squash and Semi-Poached Egg

Inspired by a wonderful mid-summer dinner at ici in Ft. Green, Brooklyn, and the contents of this week’s CSA box, I decided to make a polenta/summer squash dish. Polenta is a quick-cooking and versatile pantry staple. Polenta works great as a base for fish or veggies, and in this case I topped it with a quick saute of zucchini and yellow squash (in homage to The Red Cat’s pecorino/almond/zucchini dish).

CIMG3756

Polenta with Summer Squash and Semi-Poached Egg

  • 1 cup polenta (coarse ground corn meal)
  • 1 cup whole milk (you might need a little more)
  • 1/2 cup freshly grated hard aged cheese (parmesan, pecorino, asiago, etc)
  • 2 cups water
  • 2 zucchini (or yellow squash, or combination)
  • 1 clove garlic, chopped
  • 2 eggs
  • 1 tablespoon white vinegar
  • 1 teaspoon salt
  • 2 Tablespoons extra virgin olive oil
  1. Polenta: Heat the milk and water together in a medium sized saucepan. Just when the milk/water begins to boil, whisk in the polenta and turn down the heat to low. Stir every few minutes and cook for 15-20 minutes. If it gets too thick, add more milk or water as you prefer; the polenta should be thick, but not crunchy. When the polenta has cooked, add cheese and season with salt and pepper.
  2. Squash: Shred zucchini and squash in a Cuisinart or on a box-grater. Heat 2 Tablespoons olive oil in a large pan over medium-high heat and saute garlic for 30 seconds until golden. Add shredded zucchini/squash, season with salt and pepper and cook for 2-3 minutes while tossing to coat.
  3. Egg: Heat 2 inches of water in a small pan. When the water boils, add the vinegar and salt and turn heat down to low, so that the water is just barely simmering. Crack an egg in small bowl and gently slide the egg into the water. Do the same with the other egg. Set a timer for 3 minutes. The egg is perfectly cooked when the white sets and the yolk is still runny*; cook longer for a harder yolk, or shorter if you like it mad runny. When done, remove from water with slotted spoon or spider, and drain on a clean kitchen towel.
  4. Serve: Layer polenta at the bottom of a shallow bowl, then add about 1/2 cup of the zucchini/squash, then top with egg. Season with salt and pepper.

*Mishap alert: While attempting to poach the above egg, I didn’t put enough water in the pot, and therefore the yolk didn’t glaze over like I would have liked. It came out more like a mix between a poached and sunny-side up egg. It still tasted delicious, though, and that’s all that matters.

For another polenta recipes check out this polenta casserole from Matthew.

Chanukah Latkes

We made many-a-latke this weekend in preparation for Chanukah. Latkes are very simple–the only thing to keep in mind is that since peeled potatoes oxidize (turn brown due to exposure to the air) after a few minutes, they should be kept in cold water after they are peeled and then grated a few at a time to make small batches of the latke mixture.

Ingredients:

  • Idaho potatoes, grated and drained
  • White onion, grated and drained
  • Salt
  • Pepper
  • Matzo meal
  • Eggs, beaten
  • High heat oil to fry (canola, grapeseed or sesame–not toasted sesame)

Each small batch was about 4 or 5 potatoes, a hand full of grated onions, 2 eggs, 1/4 – 1/2 cup matzo meal, and salt and pepper to taste.

Sourdough from Scratch!

If you’ve been following Sustainable Pantry you know that I have been trying to create my own sourdough starter for months now.   Thanks to persistence, comments from readers, and a few great resources I finally did it! (see previous post to find out how).  Last night I put that starter to work, and the results are delicious, and oh so satisfying.

I admit, this is not exactly the simple, no fuss recipe you have come to expect from Sustainable Pantry, but this is a starting point, you can be sure there will be simpler sourdough recipes to come.

This recipe is from Local Breads by Daniel Leader, the founder of Bread Alone.

Sourdough Batards (fat baguettes) from Local Breads (modified slightly)

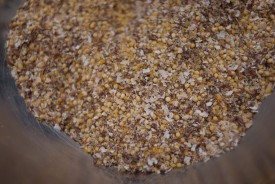
  • 350 grams (2 1/4 cups) of bread flour (I ALWAYS use King Arthur’s)
  • 120 grams ( 3/4 cup) whole wheat flour (I used organic stone-ground)
  • 30 grams (1/4 cup) of rye flour (I used organic)
  • 125 grams of sourdough starter (size of a tennis ball)
  • 1.5 tsp of kosher salt
  • 1.5 cups of water (I used room temperature spring water)

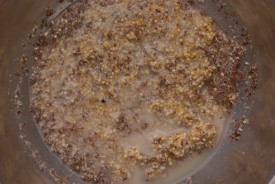
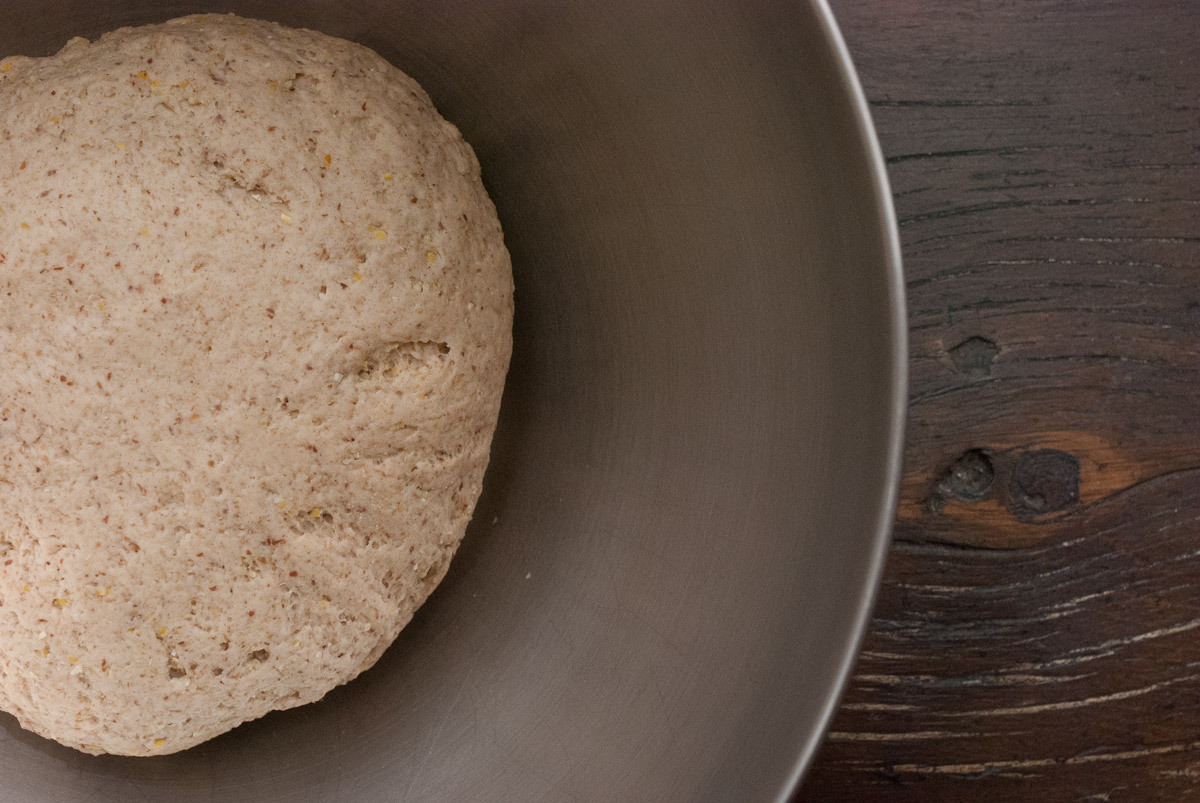
Mix the flour and the water and let it soak for 20 minutes (this gives the flour time to absorb the water). Then mix in the starter and salt.

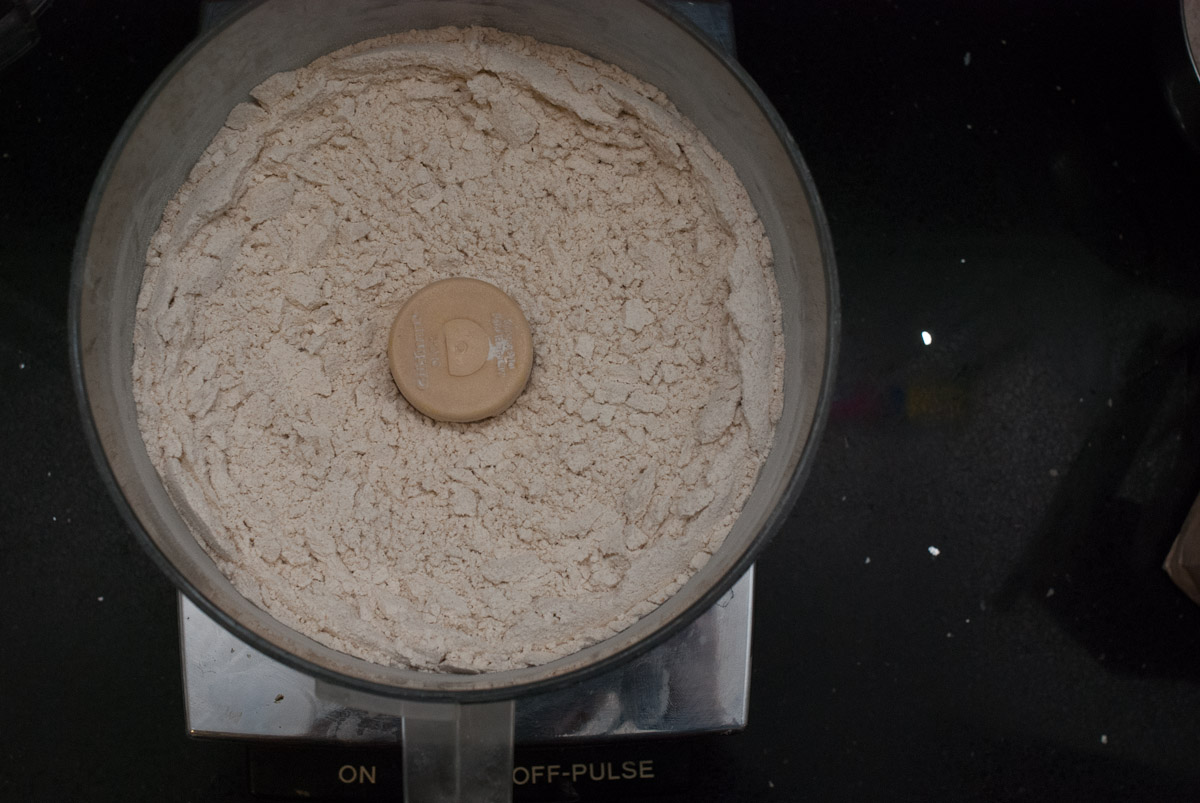
It will be quite sticky, and difficult to handle, but keep at it.  Eventually it will turn smooth and not so sticky.  It took me about 20 minutes to get to the 5th picture below. (if you don’t want to knead, check out one of these other delicious bread recipes)

In Local Breads, he has a trick to tell if your dough has been kneaded enough: Pinch off a piece the size of a golf ball, and gently stretch it. If you can get it thin enough to see through without tearing it, it’s ready!  Our dough kept tearing, but it came really close, and in the end it still worked out.

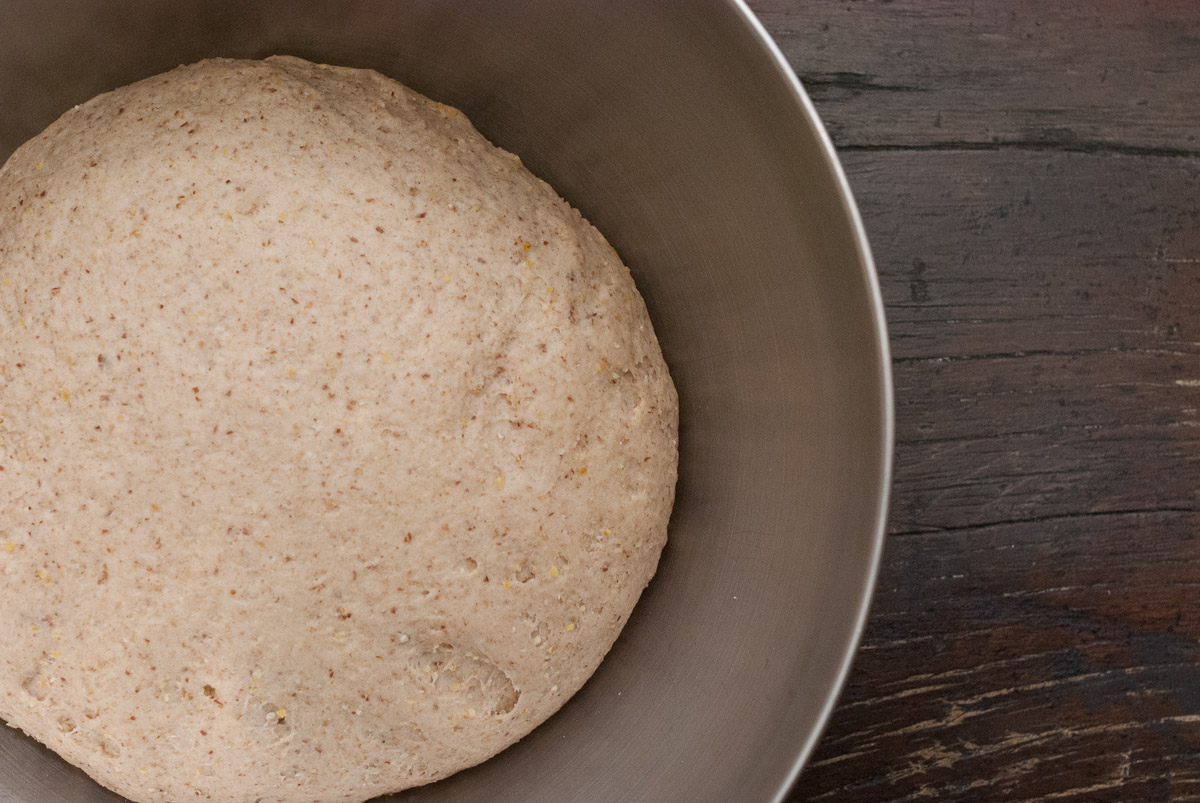
Once the dough is ready, put it into an oiled container and let it rise at room temperature for an hour. Give the yeast some time to feed, you won’t see much rising yet (we didn’t).

After an Hour:

Turn the dough: this is a common step that is done part way into the dough rising. Pat the dough into a rectangle and fold it like a business letter. The top comes down to the bottom third, and the bottom comes up to cover it. Then put it back in the container seam side down, and let it rise again for 2-3 hours, this rose for another 2:45:
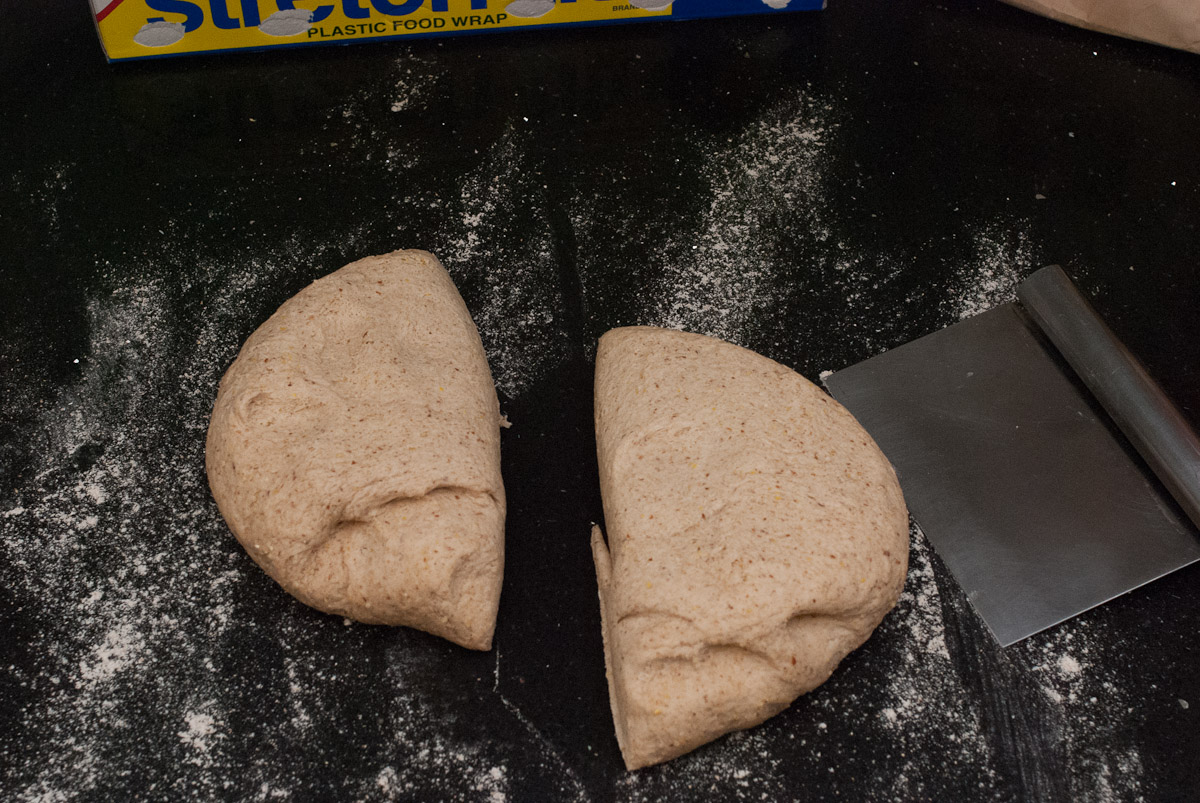


The dough is now ready to be shaped
. You can make any shape, but I followed the book‘s lead and made Batards, a shorter, fatter baguette.  To do this, cut the dough in half with either a knife or a bench scraper.  Next pat the dough into a flat rectangle about 5 inches wide, and 3 long. Then fold the top edge in towards the center, closing the seal gently with the heel of your hand. Then, fold the bottom half up to the center, so they overlap with about an inch and again seal the seam. And finally, fold it in half the long way so you have a skinny log.

Next, you again seal it with your palm, being careful not to flatten the dough in the process.  And then roll it out like a Play-Doh Snake, only its not Play-Doh, it Sour-Doh!  Put a little extra pressure as you move your hands out to the edge to create the pointier edges of the Batard.

We’re almost there!

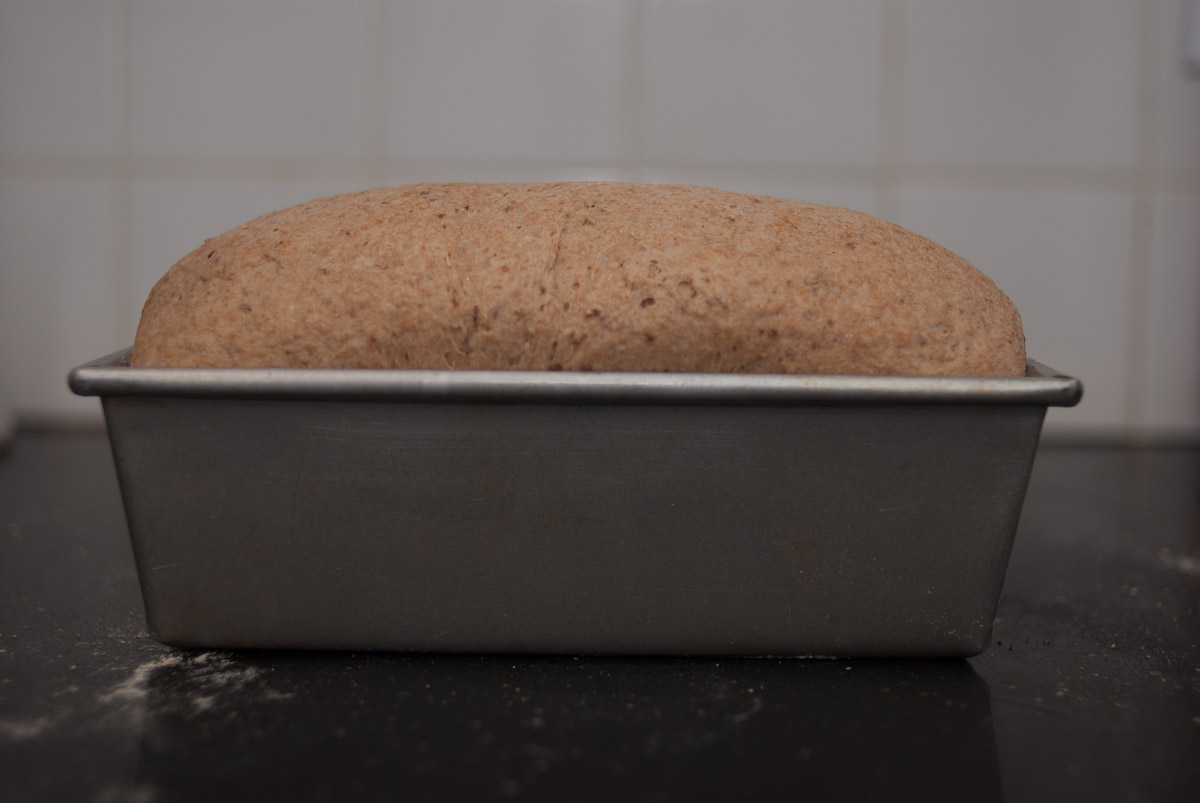
Now the dough rises for another 1-2 hours, on a couche (a canvas cloth that cradles baguettes or other shapes as they rise, and allows them to keep their shape), I used parchment paper on a baguette pan, but you could also roll up kitchen towels and slide them under the parchment between the batards to cradle them.  Dust the tops with a little flour, and cover with plastic wrap while they rise.

Slash 3 inch slashes in the top with a very sharp knife or lame dipped in water.  And they’re ready for that 450 degree oven that’s been preheating with the baking stone in the middle rack, and a skillet in the bottom.

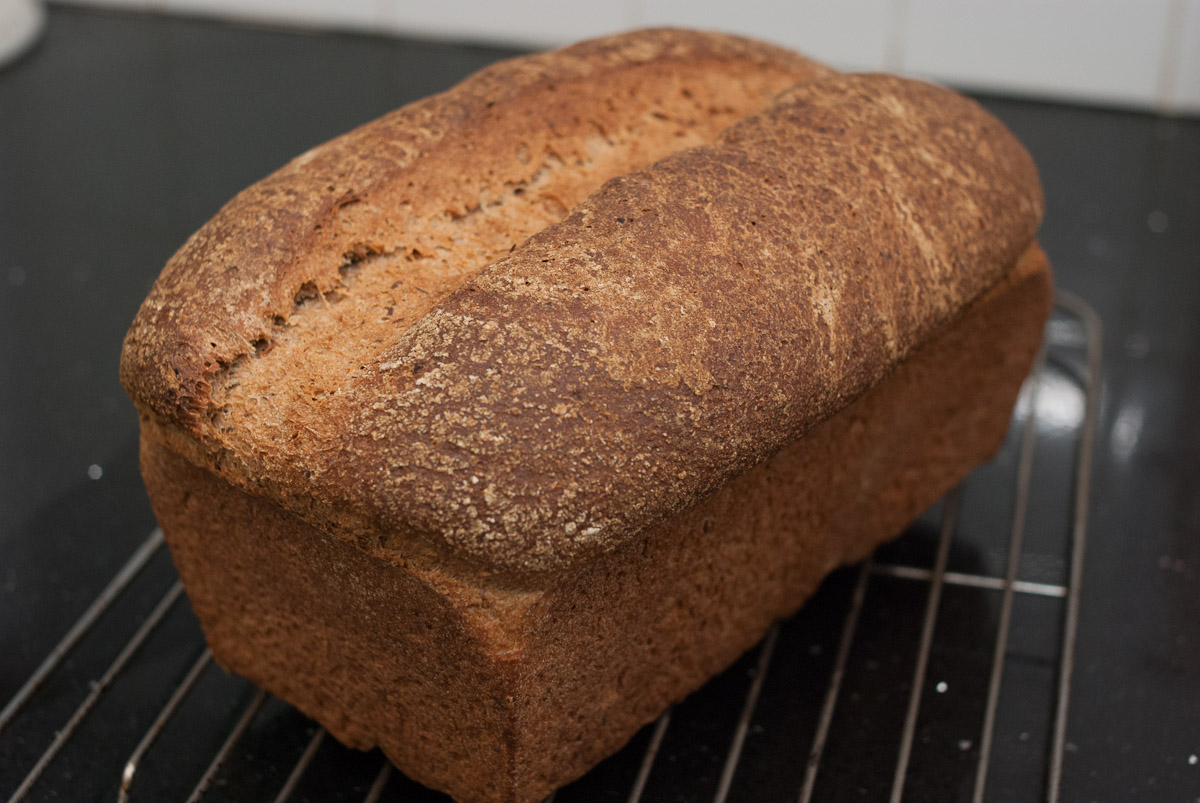
Into the oven it goes, along with a few ice cubes into the skillet to create steam, which is the makings for a heckuva crust.  Let it cook for 15 minutes, then lower the heat to 400 and cook for another 20-25 or until the crust is gorgeously brown.  And that’s it!

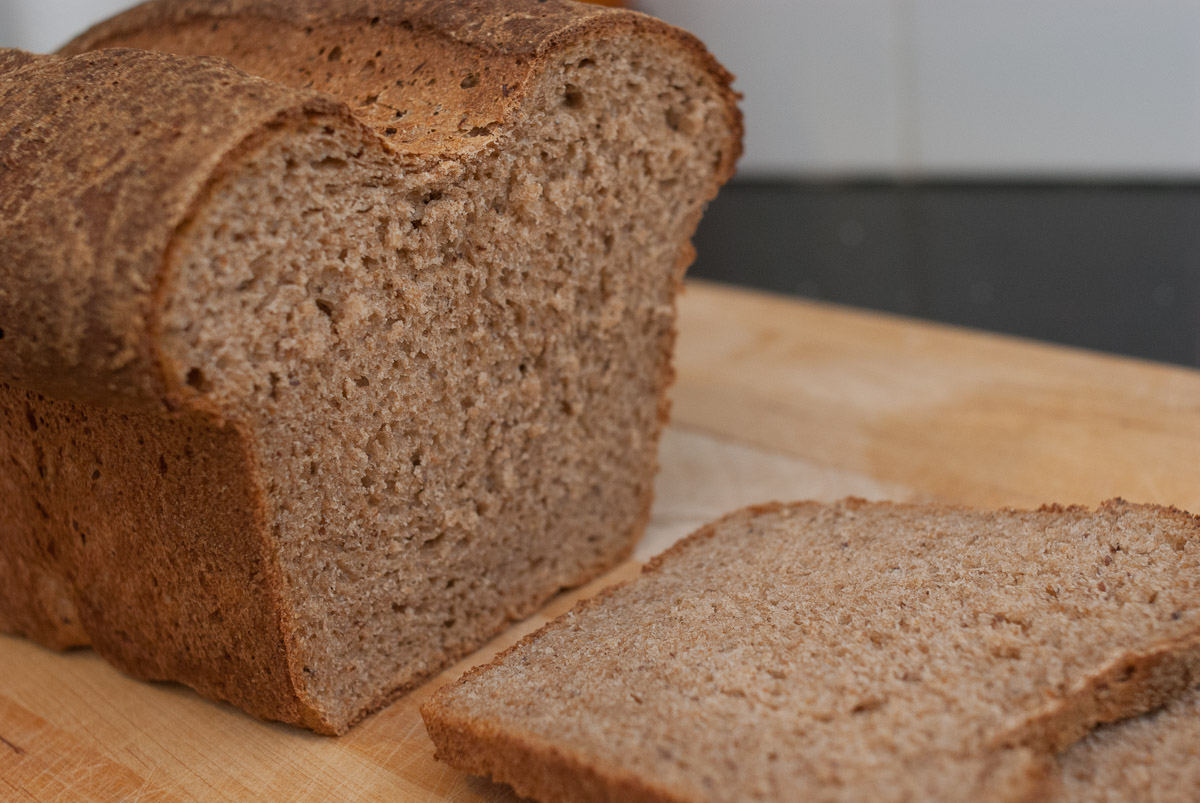
This came out great!  I could have slashed deeper to get a nicer shape, but the crust was so good, and there were some real sour undertones!

If you are even considering attempting this recipe, I strongly recommend picking up Local Breads by Daniel Leader.  Along with this recipe and a ton of others, it has a wealth of baking tips, instructions on making your own starter, and some beautiful pictures.

While this seems somewhat involved, it’s actually not.  Like most breadmaking, it requires only a few minutes of work every couple of hours.  Most of the time is spent waiting for the next step.  So as long as you’re going to be around the house for the better part of the day, you can make a DELICIOUS bread with minimal effort. (blogging the experience, well that’s another story!)