Odds and Ends Salad

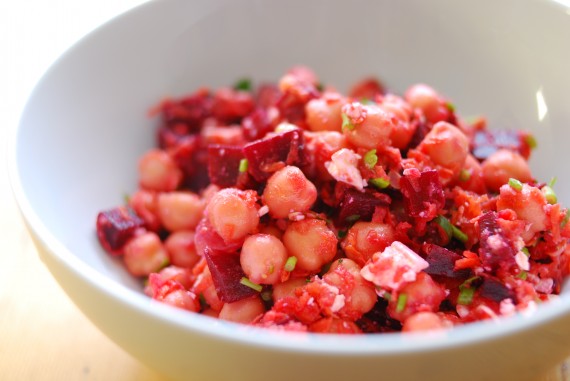
Salads don’t have to have greens; in fact, protein packed salads like this one can be quite filling and satisfying on their own. We have a delivery from our CSA coming this Tuesday (deliveries are once every 3 weeks during the Winter), and so our supply of fresh produce is sadly low, but I was able to scrap together this nutritious salad from odds and ends I found in the fridge and pantry.

  • Grated carrots
  • Chopped scallions
  • Chopped parsley stems (don’t throw them out after you use the leaves! They’re great in salads and soups)
  • 1 can of rinsed chickpeas
  • 1 diced roasted beet
  • 1 small clove of crushed garlic
  • Feta cheese
  • Olive oil, tarragon vinegar, salt and pepper

The traditional oil to vinegar ratio is 2:1 or 3:1, but I tend to like mine more vinegary than that, so I often do 1.5:1 but don’t get caught up on ratios, just eyeball it and let taste be your guide.  For this salad, I let the carrots, parsley stems, scallions and garlic steep in some vinegar, salt and pepper as I chopped the beets.  I then tossed in the chickpeas, oil, and finally the beets and feta. (Adding the beets at the end prevents the beet color from overtaking everything, though that’s somewhat unavoidable.)

The Can Jam Month One: Citrus Marmalade

Let me just start by saying that I am no pro canner.  Yes, I dabble, I have the special canning tongs and lid-lifter-magnet, and I have performed the canning process a handful of times, but it was never anything too complicated.  But after a satisfying tomato canning experience (fresh, local, organic produce turned into a pantry staple by my very own hands!),  I knew I wanted to expand my canning credentials and venture into more advanced canning endeavors, but where to start?  Enter The Can Jam.

I’ve been using Twitter a lot lately (follow me @PantryTweets), and through it I have met and exchanged ideas with some amazing cooks all over the world who are doing some really exciting things.  One of these cooks has two wonderful blogs that I read, and wouldn’t ya know it, she is a fellow Queens resident, and she LOVES to can (and pickle!).

Tigress is holding a year-long online canning project which I am enthusiastically embracing with all of my canning heart.  Each month, she’ll post an ingredient on her site, and then invites others to can/preserve/pickle a recipe highlighting that ingredient and share their results.  January’s ingredient is citrus, and I immediately thought of attempting a true champion of preserves: Marmalade.

Before you read any further know this: canning marmalade is sticky business!
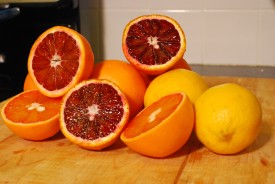
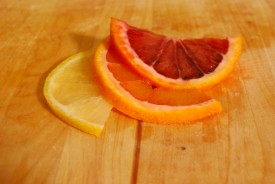
The first thing to do was to figure out what type of marmalade I was going to make.  Since citrus isn’t found in the Northeast I can’t just rely on my CSA to provide it, so I had to see what organic citrus looked good at my grocer (not just any grocer, Fairway Market), since with marmalade you end up eating the rind, where pesticide residues can collect, organic is the way to go. I was excited to find not just organic lemons and oranges, but organic blood oranges–what a treat!  When I got home I consulted my trusty cookbook collection and found a nice recipe in Joy of Cooking for Bitter Orange Marmalade, which I modified to include blood oranges, ginger, and fennel seed.  The following is an account of the steps (and occasional missteps) I took.  I hope this gives those of you who’d like to try canning that extra push you need to just GO FOR IT!

IMPORTANT: If the preserve is not prepared properly, it can be dangerous.  If you are new to canning (myself included) follow the recipe exactly, especially amounts of sugar, fruit, and processing times (spices can be played around with without compromising safety).   For canning steps, and a great resource, check out the National Center for Home Food Preservation, or these great bloggers and fellow Can Jam participants: Tigress in a Jam, Married…With Dinner, Food In Jars, Dorris and Jilly Cook, and Garden Fresh Living (for a full list of participants, check out Tigress’ master list.)

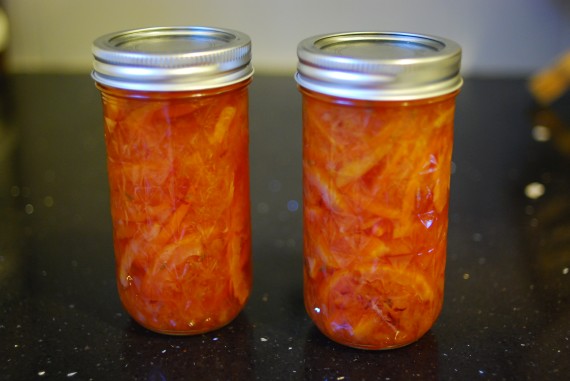
Tricalore Spiced Citrus Marmalade

Makes about 10 1/2 pint jars (I made five 4 oz jars, and five 12 oz jars.  (I processed the 12 oz jars for 15 min, vs. 10 min for the 4 oz)

  • 1 lb oranges
  • 1 lb blood oranges
  • 8 oz unpeeled lemons

Chill, wash, halve crosswise, snip out tough centers, and thinly slice, removing any seeds.

Combine in a bowl, with their juice, and add:

  • 8 cups of water
  • 2 T chopped or grated fresh ginger (Feel free to add more, I will the next time I make this)
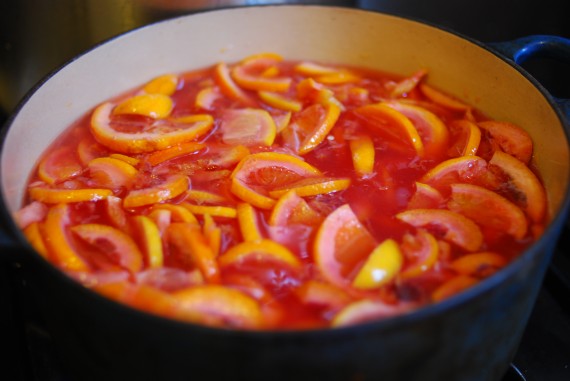
Cover and let stand overnight in the refrigerator.  The following morning, simmer with the water until the citrus peel is tender.  Then add:

  • 6.5 cups sugar
  • 1 T fennel seeds (again, what was I thinking? I would definitely add more of this next time too.)

Divide the mixture in half and cook in 2 batches.  Bring each batch up to a rapid boil, stirring frequently, until you reach the jelling point*. Remove from the heat and skim off any foam. Combine the batches, then pack into hot 1/2 pint jars, leaving 1/4 inch headspace. Process for 10 minutes.
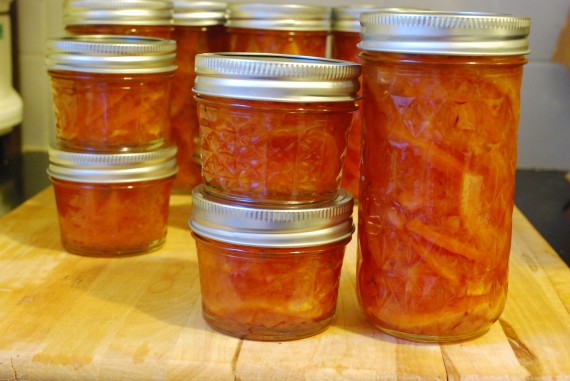
* The jelling point is a temperature/moment when the pectin reaches it’s zenith, and the preserve sets.  But…MY MARMALADE DIDN’T SET!  There are various tests to see if the jelling point has been reached;  I did the “quick chill test”, in which you drop a small amount of the syrup onto a chilled saucer, let it sit for a few minutes, and then run a finger through it.  The marmalade is set when the line of your finger stays, and the sides don’t move or when the marmalade crinkles when running your finger through it.  Mine never got to that stage, but it did hold a line, which various sources explained as a “soft” set.  I was afraid to keep boiling away (my sources said that if boiled too long, the preserves will overcook and be runny), and convinced myself, at the time, that a soft set was fine.  In retrospect, I should have boiled a little longer.  I’m told this jelling point thing will get easier with practice and experience, which I’m excited to get tons of this year!

Despite the syrupy consistency, I am thrilled with the color and flavor of my first foray into marmalade.  It’s a little bitter (which I don’t really mind), and I think it will be delicious with sweet buttered bread.
Barley Bowl

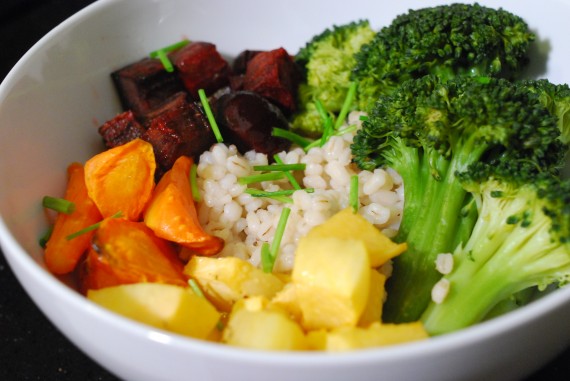
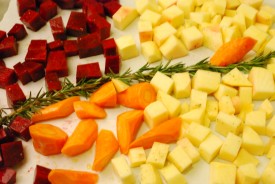
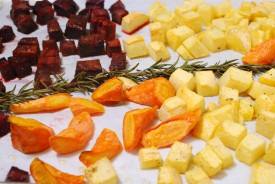
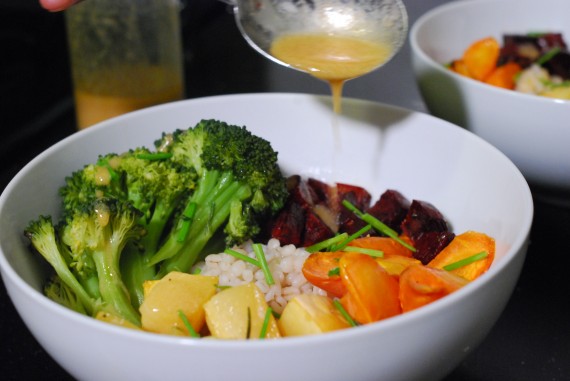
I always feel better after a simple meal of grain + veg + sauce. Especially in the winter season, with the plethora of root vegetables available, simple meals like this are only a roasting pan and steamer away. We had carrots and rutabaga left over from last week’s winter CSA share, which I roasted with with beets. All were tossed in olive oil, salt, pepper with a sprig of rosemary (I love the way the house smells in the winter with rosemary roasting in the oven).

The roast vegetables were served with steamed broccoli and that toothsome wonder, barley. When eating like this frequently, some people worry about getting bored with the same old thing every night. And the answer is SAUCES! I have a few standard sauces in my repetoire that can be mixed together on a whim, and used to top not only roast vegetables, but fish, tofu or tempeh.

Miso Sesame Sauce:

  • 3 part sesame oil
  • 2 part miso paste
  • 2 part rice wine vinegar
  • 1 part honey (or 1/2 part sriracha)
Place all ingredients in a clean jar. Shake. Thin with water to desired consistency. (Sometimes I add grated ginger, sometimes I make it spicier…Play around!)

HOLLA! Sweet Potato Challah

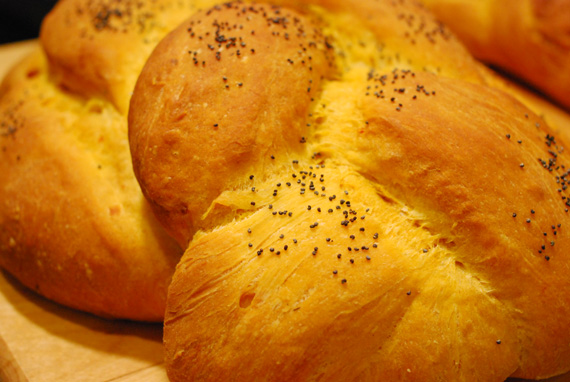
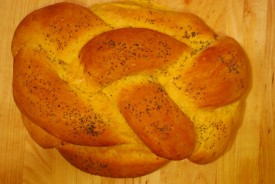
Challah, the braided bread served on Shabbat and most holidays, is delicious, and typically made with many eggs.  We had vegan guests over for Shabbat last weekend, so eggs were out.   I had to learn how to make an eggless challah, and fast, so I turned to Joan Nathan, the Guru of Jewish cooking, and modified a recipe she had for berches.  I had never heard of berches before, so I asked my German grandmother about it.  She explained that berches is just the German word for challah.  Joan Nathan’s recipe is made with potatoes, but according to my grandma, berches can be made with or without potatoes.  How about sweet potatoes?  Well that’s what I had from our CSA, so that’s what was going into my challah.  The sweet potatoes lent a nice sweetness and a beautiful orange hue to the final challah, and everyone loved it… it also made for some killer paninis (see previous post).   Does anyone else have any experience with berches?  Feel free to share in the comments below.

Sweet Potato Berches

Modified from Joan Nathan’s The Jewish Holiday Kitchen. This recipe makes 2 large loaves.

  • 2 pounds bread or unbleached all-purpose flour (8 cups)
  • 2 packages dry yeast
  • 1/2 cup lukewarm water
  • About 3 cups cooked, mashed sweet potatoes (still lukewarm)
  • 1.5 teaspoons salt
  • Poppy or sesame seeds

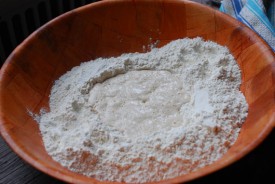
  1. Place the flour in a large bowl, making a well in the middle. Stir in the yeast and 1/2 cup water. Add to the well a small amount of the flour, about 3 tablespoons. Cover and place in a lukewarm place until doubled in size, about 30 minutes.
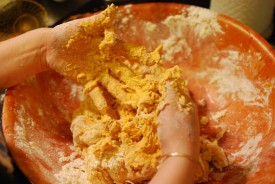
  2. Add the potatoes, salt, and more lukewarm water if needed [I didn’t need any]. Knead the dough about 10-12 minutes, until it is as firm as possible. [I had to add more flour–about 1/4 cup–since the dough was mad sticky.] Put the dough in an oiled bowl and cover with a cloth. Place in a medium-warm, draft-free spot, and let stand until the dough has doubled in size (about 3-5 hours). [Joan notes that if you are serving on Friday, you can start the dough Thursday night at 8 O’Clock, and it can rise slowly overnight.]
  3. When the dough is ready, place it on a floured wooden board and split it into 4 parts. Make a long loaf of one of the parts [mine was more of an oblong round…], and divide one other part into 3 pieces. Roll the 3 peices into long ropes and braid them. Place the braid on top of the long loaf, pinching on the edges to attach. Repeat with the other 2 parts. Cover the challah and let rise once more for about 1 hour.
  4. Preheat oven to 350F with a pizza stone inside, if you have one.
  5. When ready to bake, brush with olive oil and sprinkle with poppy or sesame seeds.
  6. Bake 45 minutes to an hour or until the challah is nicely browned and sounds hollow when tapped.

Soup and Sandwich

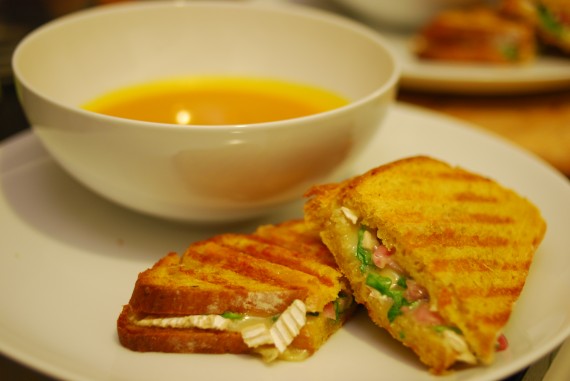
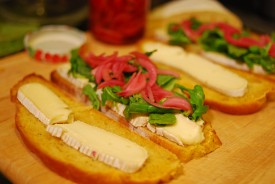
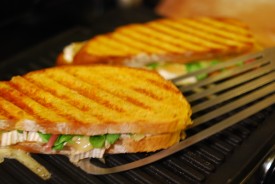
After cooking for guests both Friday and Saturday night, our kitchen is stocked with the makings for some pretty stellar leftover meals. Tonight we had a simple soup and sandwich dinner: Pumpkin soup and grilled cheese on homemade sweet potato challah with arugula and pickled red onions (those onions are making it into EVERYTHING these days).

NOTE: This was a different type of post for us. While we often use Twitter (@alexaweitzman) and Facebook to share pictures of recent meals, cooking updates, and various other deep thoughts, sometimes we want to share these brief posts on the blog itself. Well tonight, we decided to finally go for it. We hope this will improve the experience at Sustainable Pantry by allowing us to post more frequently, and try new things, even if only a picture and a brief thought make it onto the blog. Thanks for reading, we hope you enjoy!