 I’m a huge breakfast guy. I’m one of those people that has to have breakfast within an hour of waking up, every single day. On the rare occasion we go out for brunch, I go for traditional breakfast faves like eggs, French toast, pancakes, oatmeal, bagels with lox, I love all that. Alexa on the other hand, is more of an -unch person. She loves eating more savory things for breakfast, last night’s leftovers being her very favorite.
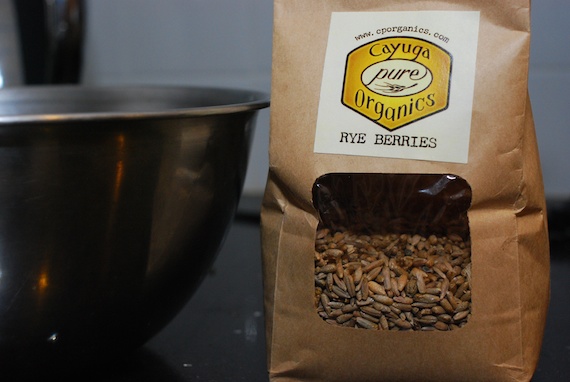
Steel-cut oatmeal has been a long-time favorite Winter breakfast for me, but lately I’ve been branching out, inspired by the fact that we have a ton of other whole grains in our pantry such as oat groats, spelt berries, wheat berries, farro and rye berries. These grains all came from Cayuga Pure Organics, a bean and grain farm located near Ithaca, NY that is a provider for our CSA.
I’ve been treating these grains the way I would treat steel cut oatmeal, and it’s my new favorite way to start off the day! Follow these instructions to turn any whole grain into a warm, hearty breakfast flavored just to your liking.
Instructions:

Heartier whole grains such as rye berries and wheat berries cook quicker if you soak them overnight prior to cooking. A single serving is about 1/2 cup of dried grain. Just measure out the grain and put it in a bowl covered by at least a couple of inches of water (preferably filtered). Cover, and leave overnight. The next morning (or some hours later), strain the grain and put it in a heavy pot with water in a 2:1 water:grain ratio. Don’t worry about using too much water as this type of grain doesn’t turn into a porridge, the individual rye berries retain their integrity so you can just strain the grain when it’s cooked through, or fish it out with a slotted spoon.
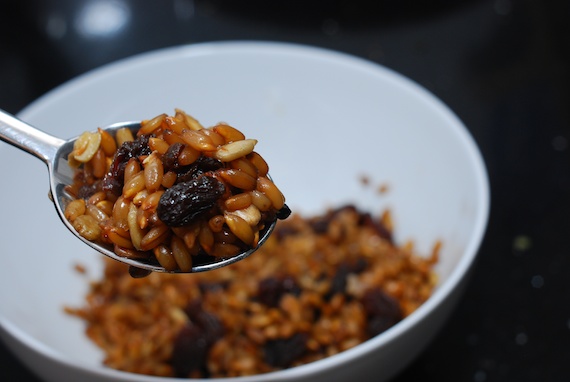
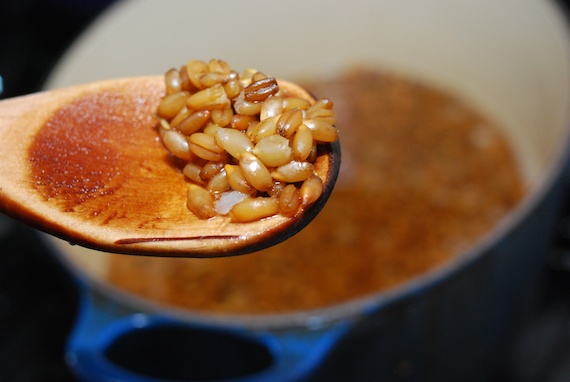 Bring to a boil and simmer, covered, until they tastes done. These rye berries took about 40 minutes. They’re still al dente even after all that cooking, and they’ll pop in your mouth when chewed. At that point, you can add whatever flavorings you want, sweet or savory. I like a touch a sweetness, so here I grabbed a small handful of raisins and sunflower seeds and it was perfect. Other great sweet options include maple syrup, honey, cinnamon, vanilla, walnuts, almonds, cashews, fresh apples, bananas, etc. For the more savory side, Alexa adds things like sesame oil, soy sauce, steamed vegetables, balsamic vinegar, and pine nuts. What flavor combinations come to your mind? We’d love to hear your favorites, it’s going to be a long Winter and we’ve got a lot of grain to get through!










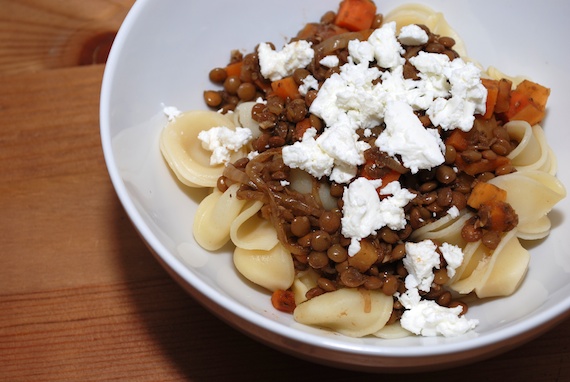 These are my favorite types of dinners. You never know where your ingredients will lead you. Tonight, I was inspired by a small container of goat cheese that I impulsively picked up when I was walking around the Union Square Greenmarket this afternoon in the 62-degree February sun. So what did I have in my fridge that could play well with goat cheese? I found a container of leftover cooked orecchiette from last week that I really needed to use, so I decided I was going to be making something with pasta. Hmmm, lentils and goat cheese is a great combination, and I had a small amount of french lentils that would cook quickly, and hence, the dinner was borne.
 I’m a huge breakfast guy. I’m one of those people that has to have breakfast within an hour of waking up, every single day. On the rare occasion we go out for brunch, I go for traditional breakfast faves like eggs, French toast, pancakes, oatmeal, bagels with lox, I love all that. Alexa on the other hand, is more of an -unch person. She loves eating more savory things for breakfast, last night’s leftovers being her very favorite.


 Bring to a boil and simmer, covered, until they tastes done. These rye berries took about 40 minutes. They’re still al dente even after all that cooking, and they’ll pop in your mouth when chewed. At that point, you can add whatever flavorings you want, sweet or savory. I like a touch a sweetness, so here I grabbed a small handful of raisins and sunflower seeds and it was perfect. Other great sweet options include maple syrup, honey, cinnamon, vanilla, walnuts, almonds, cashews, fresh apples, bananas, etc. For the more savory side, Alexa adds things like sesame oil, soy sauce, steamed vegetables, balsamic vinegar, and pine nuts. What flavor combinations come to your mind? We’d love to hear your favorites, it’s going to be a long Winter and we’ve got a lot of grain to get through!
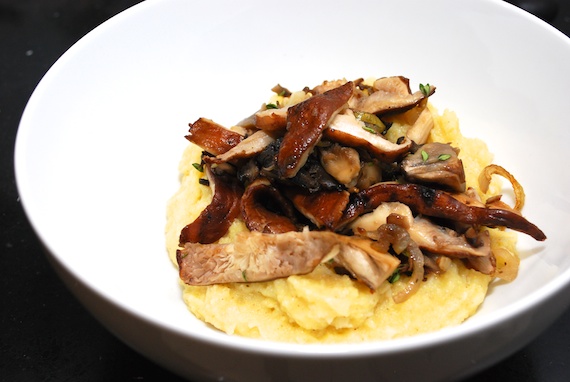 There’s a secret that people don’t tell you about polenta: It’s easy to make! I’m pretty sure I don’t make it the traditional way since I always hear about people slaving over a pan of polenta, à la risotto, and that’s not at all what I do. I just boil water, whisk in cornmeal (fine or coarse – chef’s choice) and stir. Within a few seconds, the polenta thickens up, and you can have a meal in 15 minutes. It’s literally that easy. It’s a great side dish for thanksgiving, especially if you have vegans in your family, and let’s be honest, who doesn’t?! In terms of additions to polenta, people often add cream or grated cheese, but I’ve found that if you’re looking for a vegan/parve polenta, a great way to both flavor and add to the creaminess, is to add tons of roasted garlic. Our


