Sweet Challah for a Sweet New Year!

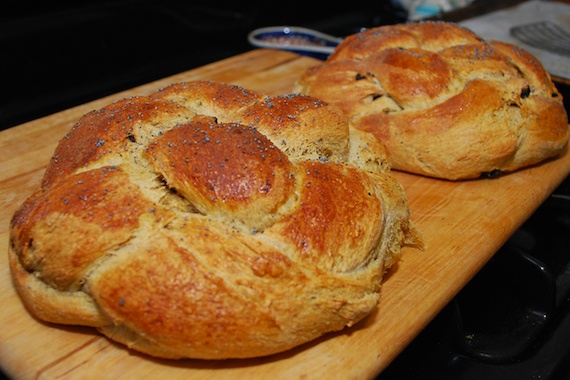
I love Rosh Hashanah! It’s such a charged time of the year, when we reflect on the past year and reset and refocus on the year ahead. I also love the traditional foods we eat at the Rosh Hashanah table – apples, honey, pomegranates, dates…. Like most Jewish holidays, the food we serve has symbolic meaning. Traditionally, sweet foods (apples, honey) are served to bring sweetness to the year ahead and the challah for Rosh hashanah is woven into beautiful, round loaves to highlight the cyclical nature of the year. I was excited to try to make a sweet, round challah this year, and I used this sweet potato challah recipe (modified from Joan Nathan) as a starting point. Since we received 2 beautiful acorn squashes last week from our CSA share, I though it might be fun to try to make a sweet squash and raisin challah. After watching this video about how to make a round challah, I felt confident to try to braid it and it was much easier than the fancy finished look of the loaves would suggest! Wishing everyone a sweet new year – L’shana Tova U’metukah!

Sweet Acorn Squash and Raisin Challah

Modified from Joan Nathan’s Berches recipe from The Jewish Holiday Kitchen. This recipe makes 2 large loaves.

  • 1 pound (4 cups) unbleached all-purpose flour
  • 1 pound  (4 cups) whole wheat flour (I used Cayuga Pure Organics whole wheat bread flour)
  • 2 packages dry yeast
  • 1/2 cup lukewarm water
  • About 3 cups roasted, mashed acorn squash puree (still lukewarm); you can substitute use any winter squash for the acorn squash. I’m sure you can even use canned pumpkin in a bind!
  • 1.5 teaspoons salt
  • 1/2 teaspoon freshly ground cinnamon
  • 1/2 cup (or to taste) raisins
  • Poppy or sesame seeds

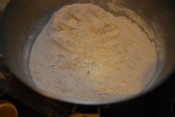
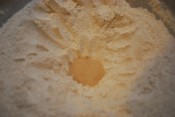
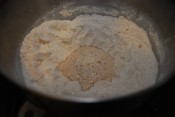
  1. Mix the flours together in a large bowl, and make a deep hole in the middle of the bowl by moving the flour towards the edges of the bowl. Pour in the yeast and 1/2 cup of water into the well. Add a small amount of the flour, about 3 tablespoons, and mix to make a very watery sludge. Cover and place in a lukewarm place until doubled in size, about 30 minutes – it will be very fizzy when ready.
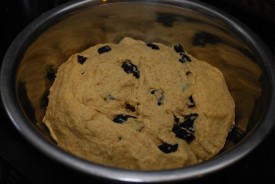
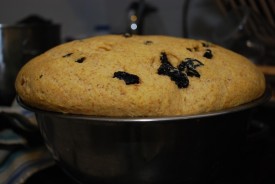
  2. Add the squash, salt, and more lukewarm water if needed [I didn’t need any]. Knead the dough about 10-12 minutes, until it is as firm as possible. I did this in a stand mixer with the dough hook. Add cinnamon and raisins while kneading. Put the dough in an oiled bowl and cover with a cloth. Place in a medium-warm, draft-free spot, and let stand until the dough has doubled in size (about 3-5 hours; with this late summer heat in NYC today, I didn’t need much longer than 2.5 hours). [Joan notes that if you are serving on Friday, you can start the dough Thursday night at 8 O’Clock, and it can rise slowly overnight.]
  3. When the dough is ready, place it on a floured wooden board and split it into 4 parts. Place 2 of the parts into the bowl the dough was in, and cover. Split the other 2 parts in half so there are 4 equal parts; roll these into long logs of equal length.
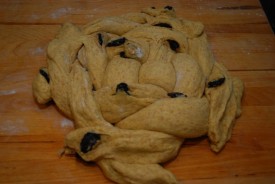
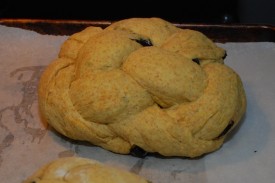
  4. Shape into braided round challah. I have included detailed pictures below, but Tina Wasserman’s video is pretty great – she shows 3 different ways to make round Rosh Hashanah challah. The most important thing to keep in mind is that you flip it over after you braid it – so it will look much neater after that final step! After the challah is shaped, place on baking sheet pan lined with parchment, and cover with a kitchen cloth.
  5. Repeat with the other parts. Cover the challah and let rise once more for about 1 hour.
  6. Preheat oven to 350F.
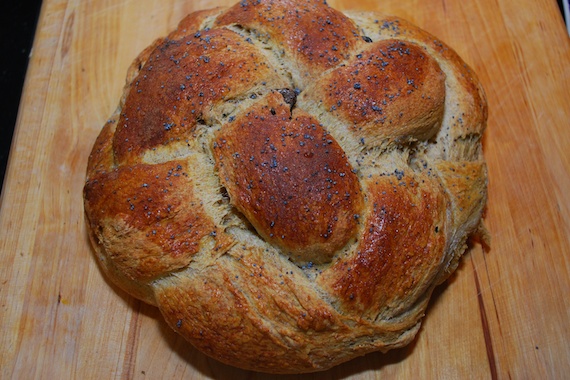
  7. When ready to bake, brush with olive oil or egg wash and sprinkle with poppy or sesame seeds; I used poppy seeds and cinnamon and sugar.
  8. Bake 45 minutes to an hour or until the challah is nicely browned and sounds hollow when tapped.

How to Braid a Round Challah, In Pictures:

This recipe is included in this “Rosh Hashanah Blog Carnival”, a list of links to seasonal recipes from like-minded bloggers compiled by Lisa at Real Food Digest.  Her blog is an incredible resource for whole-food, minimally processed recipes.

Warm Zucchini Salad

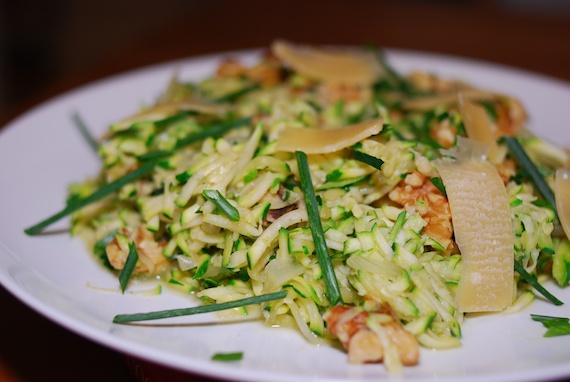
Poof…I’m back! It’s CSA season, and in July, that means zucchini. And a lot of ’em. One of my favorite ways to prepare zucchini is inspired by a classic appetizer from The Red Cat. When I was working my way through grad school in my 20s, my evenings and weekends were spent hostessing at The Red Cat, a friendly restaurant in NYC’s Chelsea. One of the perks of being a hostess was that at the end of our shift, we could order up to $22 off the menu (in lieu of tips – It was my kind of deal). After my glass of wine, I had about $15 dollars left to spend on food, and most nights, I used part of that to buy their Sauteed Zucchini with Toasted Almonds and Pecorino. I’ve used this dish as an inspiration many-a-time, and I was jonesing for it after getting 5 pieces of zucchini in last night’s CSA share. I took many liberties with the original recipe, which calls for pecorino and almonds. I only had parmigiano and walnuts, which worked fine. I also wanted to work in some onions, chives, and garlic (all which came in last night’s CSA box as well), so I did.

Warm Zucchini Salad

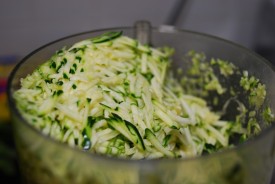
  • 2-3 pieces of zucchini,  julienned (I shredded tonight in the Cuisinart. It went okay (maybe a little wattery). In the future I might take the extra time to julienne properly.)
  • 1 onion, sliced
  • 1-2 cloves garlic, minced
  • chives
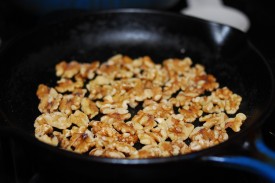
  • Walnuts, roasted
  • Parmigiano, shaved
  • Olive oil, salt, pepper

  1. Saute the onion and garlic in some olive oil until soft and fragrant
  2. Add zucchini, salt and pepper; saute for no more than 1-2 minutes
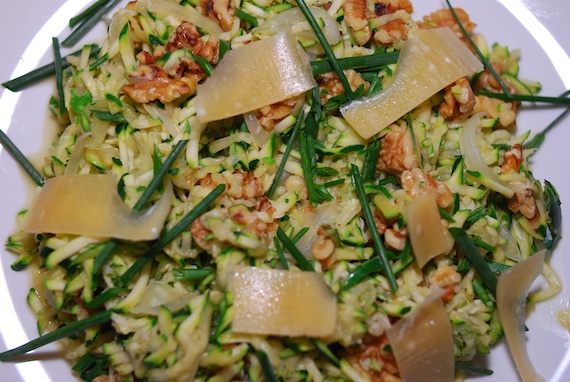
  3. Toss with walnuts, plate, and top with shaved parmigiano

Comfort Me With Apples

I’m a little tardy with my November Can Jam entry, but better late then never, ey? November’s ingredient was apples, and there is only one thing I do with apples, and that’s make applesauce.

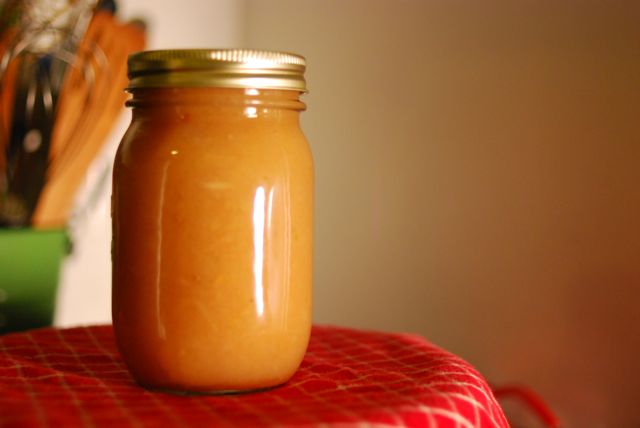
Applesauce

Modified from Ball Complete Book of Home Preserving; Yield: 1 quart, with enough warm applesauce leftover for snacking on.

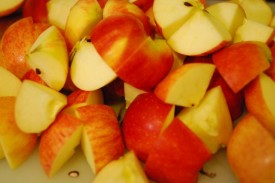
  • 3 pounds apples, cut into 8ths (no need to core or peel)
  • 1/4 – 1/2 cup sugar
  • 1/2 – 1 teaspoon ground cinnamon
  • 1.5 tablespoon lemon juice

  1. Prepare canner, jars, and lids. Read THIS post if you have no idea what I’m talking about.
  2. Place cut apples into a heavy-bottomed pot with about an inch of water. Cover and cook over medium-low until apples are soft.
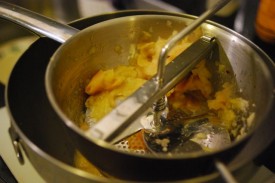
  3. In batches, transfer apples into a food mill. Push through into a bowl.
  4. When all apples are pushed through, transfer sauce back into the pot.  Add lemon juice, sugar and cinnamon. Sugar and cinnamon can be modified to taste, but the lemon juice cannot. If you don’t know how serious I am in terms of botulism prevention, and how much I DON’T f*ck around with acidity levels, read THIS.
  5. Fill jar, leaving 1/2 inch of headspace. Remove bubbles, adjust headspace as needed, place lid, and screw on band just past fingertip tight.
  6. Process for 20 minutes in a boiling water canner.
  7. Eat straight out of the jar when you need comforting. Note: the title of this blog entry was lifted from Ruth Reichl’s memoir of the same name. Read it if you haven’t yet.

Grapefruit Chili Marmalade and a Canning Confession

I think I’m finally ready to come out with it: I have a tremendous, completely irrational fear of Clostridium botulinum.  More specifically, my fear is that something I can will harbor botulism, and me or someone else who eats it, over subsequent days, will develop symptoms of botulism, and die.

You might think that someone who cans/preserves as much as I do would be comfortable with all the ins and outs of canning safety, and I am, but you see, my fear of botulism is totally irrational.  So regardless of whether I know that there were only 22 reported cases of food-born botulism in the entire US last year, and despite the fact that I follow proper safety precautions, the fear slips in… and then it takes over.

This past February, there was a particularly bad episode that we’ll call “The Fermented Pickle Incident”. I went to a fermented food tasting party with some fellow pickling buddies I had met through twitter (is that weird?).  I brought a batch of Indian carrot pickles with mustard seed that I had recently made following Madhur Jaffrey’s recipe, which included oil.  That little bit of oil brought my fear gushing in. My mind went: oil –> anaerobic environment –> botulism –> death to all tweeting picklers.

One thing that I do when I freak out like this, and which I did the day of The Fermented Pickle Incident (foreshadowing: and today) is call random canning experts that I find online.  That time, like other times, I wound up talking to a sweet woman from the Utah Cooperative Extension program. It was clear she didn’t get many calls from neurotic New York Jews like me, or she wouldn’t have pointed out that “you can’t be sure unless you get your stomach pumped.” Ummmmmm……WHAT?!

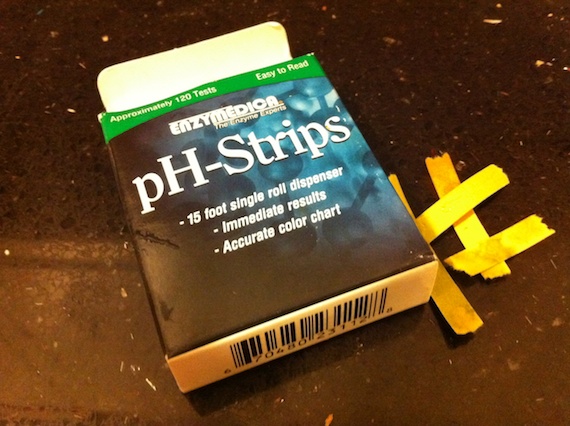
Long story short, I didn’t get my stomach pumped, but only because Matthew and I braved a snow storm to drive to Whole Foods at 9pm to buy pH strips. After testing the carrots in the parking lot, it was clear the environment was acidic enough to prevent botulism and I would be OK.  But I didn’t really feel better until I was sure I was alive 7 days later. And then I went right back to pickling. Why? I have no idea. Maybe ’cause I love the cute jars. And pickles.

October Can Jam: Chilies

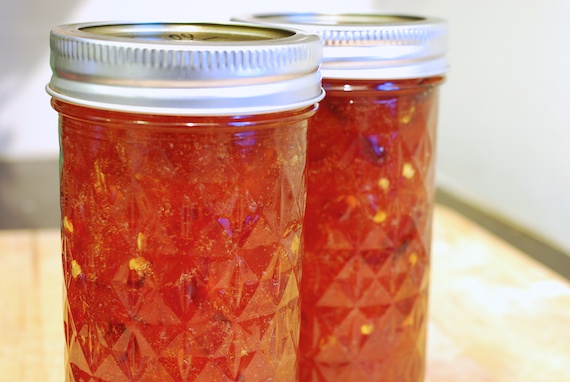
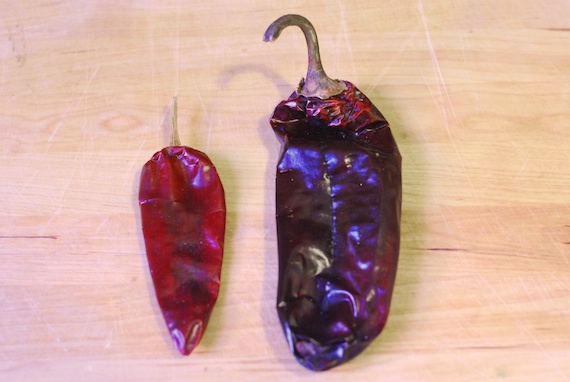
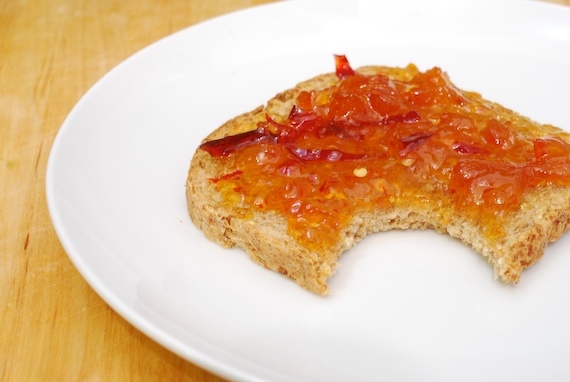
This month started out fine. I heard that the Tigress Can Jam October ingredient was chilies, and I was excited to make a grapefruit chili sauce inspired by Marie Sharp’s Grapefruit Habenero Sauce that I had tasted on a trip to Belize last year. Stupidly, I only brought back a tiny bottle of the stuff, and it went fast.  With this challenge, I was looking forward to finally trying my hand at replicating that tangy, spicy, savory, delectable sauce. So, I hit the books. The only thing that kinda came close to what I was after was a recipe for Orange Chili Marmalade in the Ball Complete Book of Home Preserving. So, that was my starting point, and this is where I ended: heart beating, calls to Utah, pH test strips strewn around my kitchen…

So, since I feel like I might have modified too much, I won’t be sharing a recipe this month. The published recipe said to take OUT the chili peppers after they cooked with the grapefruit; I kept them in. The recipe was too large, so I did 40% of it; was my computation correct? I added some water to thin out the marmalade as it cooked. Was that a good instinct, or a fatal one?

Utah Canning Lady said that I was ‘probably fine’, but she ‘can’t be sure’.  So,  just to be safe, I’m going to do the other thing that I do when I’m afraid that my cans weren’t properly sealed and that they might not be preserved correctly.  I’m going to eat it, all, very very fast. And it happens to be delicious!

Mushroom Miso Soup for Immunity

While you wouldn’t know it from the warm, balmy weather in New York City over the past few days, but Autumn has arrived. And with it comes the wind, drier air, cooler weather, and…….cold season! In my other life as an acupuncturist, I’m often advising patients on how best to adapt to the changing seasons. One of the ways I suggest during this seasonal shift is to incorporate medicinal foods which boost immunity, and this recipe is packed with them!

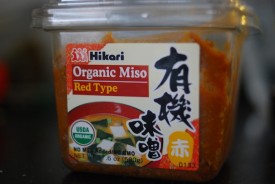
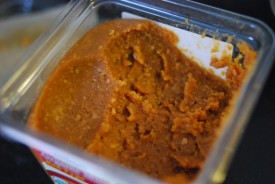
Miso is a superfood. Made from soybeans (or another legume) fermented with rice (or another grain) and salt, the result is a pungent, salty, umami seasoning paste. Used for thousands of years in Japan and China, the bacteria used to ferment miso is the same used in the production of soy sauce and sake (some of my other favorites). Since miso is fermented, the paste is considered ‘live’, so it is advised to not boil miso, and instead add it to the warm soup at the end of cooking so that the bacteria remains unharmed. It is thought that the bacteria in miso help promote intestinal health, eliminate toxicity in the body, and support the body’s immunity. All those old people that they find living in Okinawa, Japan? They all eat miso soup before each meal! You can find miso paste in well-stocked grocery stores and health stores in the refrigerated aisle, usually near the tofu and tempeh.

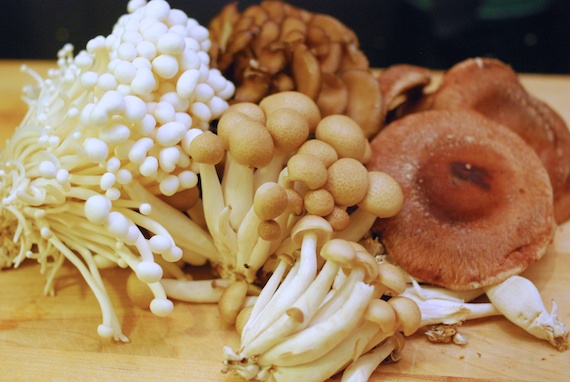
In addition to miso, this recipe includes 4 different mushroom varieties which help boost immunity. When choosing mushrooms for their health benefits, it’s a good rule to stick to the Japanese varieties. In this soup, I used shitake, maitake, enoki, and bunashimenji. These varieties all exhibit immune-boosting, antimicrobial, antiviral, anti-cancer and blood pressure-regulating effects; there is much exciting research being done on the effects of these medicinal mushrooms. While you can probably find shitakes at most supermarkets these days, these other varieties can only be found at Asian markets. I rely on H-Mart, a Korean grocery chain in Queens, for my (organic!) mushrooms.

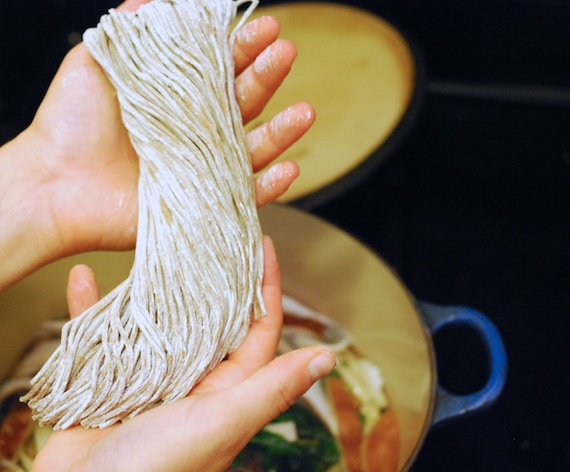
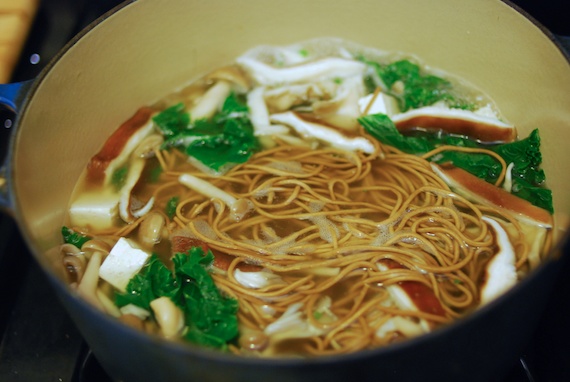
Another ingredient that I rely on H-Mart for is fresh soba noodles. Soba noodles are made from buckwheat, and while you can definitely use dried soba noodles for this recipe, I find that the fresh ones cook faster, since I can just throw them in the soup while it is simmering. In the picture above, you can see that they come coated with flour. I find that the soup is clearer (and doesn’t thicken) if you rinse off the noodles prior to adding them to the soup. If you use dried noodles, just cook until almost done in boiling water before adding them to the soup.

Immune Boosting Mushroom Miso Soup with Soba Noodles

  • Mushrooms (any combination of Japanese mushrooms); shitake caps sliced, others may remain whole. (Freeze shitake stems, as they are excellent to make a stock, but don’t work in this recipe)
  • Fresh ginger (to taste)
  • Miso Paste (to taste)
  • 1 cup of washed and julienned kale
  • Soba noodles
  • Cubed tofu
  • Garnish ideas: Sliced radish, black sesame seeds, sesame oil, scallions, soaked wakame seaweed

  1. Add sliced mushrooms (except enoki, which don’t have to cook) to pot of boiling water with 1 tablespoon (or more) of freshly grated ginger. Lower heat to a simmer and cook for 5 minutes.
  2. Add kale, soba, and tofu. Cook for 3-5 minutes until noodles are cooked through. Turn heat down to low and add enoki mushrooms.
  3. Ladle out about 1 cup of warm broth into a small bowl, and dissolve about 1 tablespoon of miso paste into it. Add miso-broth back into soup. Taste, and dissolve more miso paste in as taste dictates. I find that some days I crave a bland bowl of soup, and others I want a more pungent salty experience.
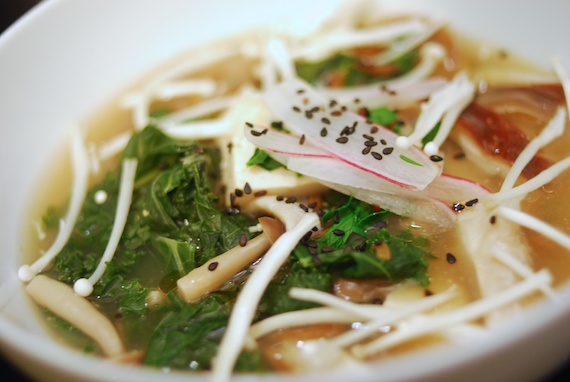
  4. Ladle into serving bowls and top with garnish of choice. Above I used sliced radish, black sesame seeds and a drizzle of sesame oil.

In addition to the health benefits of the miso and mushrooms, this soup also features ginger and kale, medicinal/nutritional powerhouses themselves. So when you are feeling slightly under the weather, OR even before you get to that point, stock up on this soup so that you remain healthy all fall and winter long!