I so wanted to get this out yesterday so it would be exactly a year since my last post, but alas, over a year has passed since I last updated this site (a year and one day!). I wouldn’t usually make excuses for that kind of absence, but in this case, the excuses are great ones, so I will share. I want to!
1) We moved. Granted it was just to an apartment upstairs in our same building, and granted we didn’t even have to truly pack (can you say millions of trips with Ikea bags up and down in one-flight elevator trips?!) but it was a move nonetheless. And moves are tough. And when the kitchen got packed up, we ordered a lot of take-out.
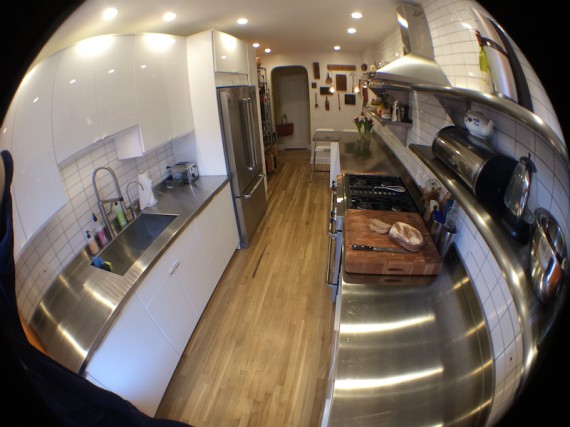
2) We renovated the new apartment, including an amazing new kitchen and bathroom. It was pretty awesome to design a kitchen from the walls out and I have to say, I got my dream kitchen! I am hoping to share with you what and why we decided to use for cabinets (Ikea), shelving (Advanced Tabco), countertops (custom stainless steel), appliances (Jenn-Air and Bosch), and flooring (wood), since I found posts like that super helpful when we were researching and planning our renovation, but for now, I will just share this cool fish-eye picture.
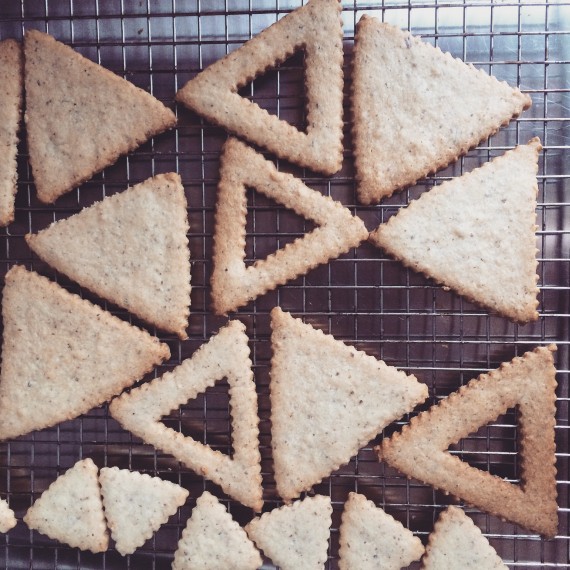
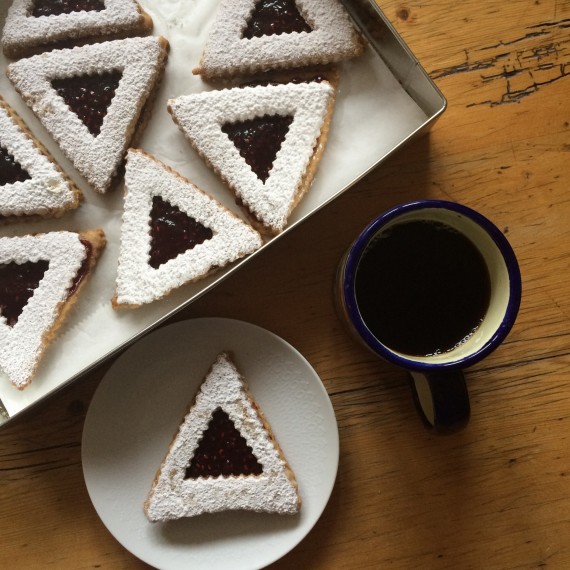
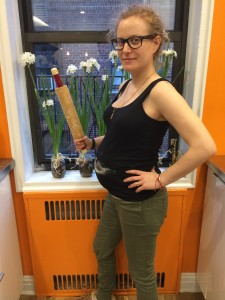
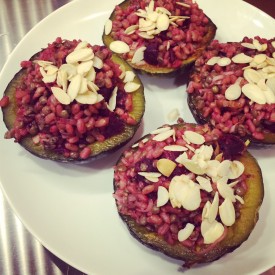
3) Even though I had a fancy, beautiful new kitchen, I wasn’t cooking for the greater part of the fall after we moved in because…I was pregnant (!!) annnnnnd sick all the time. I honestly couldn’t even THINK of cooking or eating the things I normally love. I subsisted on rice cakes, Puffin cereal, saltines (I clearly had a texture thing) and cut up oranges. I guess at one point during the pregnancy I baked a pie. See evidence below.
4) You know what’s coming next, right? Now we have a baby!!! The most beautiful baby boy in the whole entire world who was born this Spring, and who keeps me out of the kitchen because I spend the greater part of every day squeezing his cheeks and talking to him in a voice that is higher than the top of Mariah Carey’s vocal range. There is some cooking is happening, like on CSA night, but not a ton. Or at least not a ton of cooking that requires two hands. And I’m OK with that. He’s the best.
5) Finally, I’ve put off posting because the blog needs work. I’ve been wanting to do a redesign for a while now, and I also have a major spam problem, which needs a lot of attention, and some sort of security-fix. I think we’re probably going to migrate the blog to a different platform – that sounds like I know what I’m talking about, right?

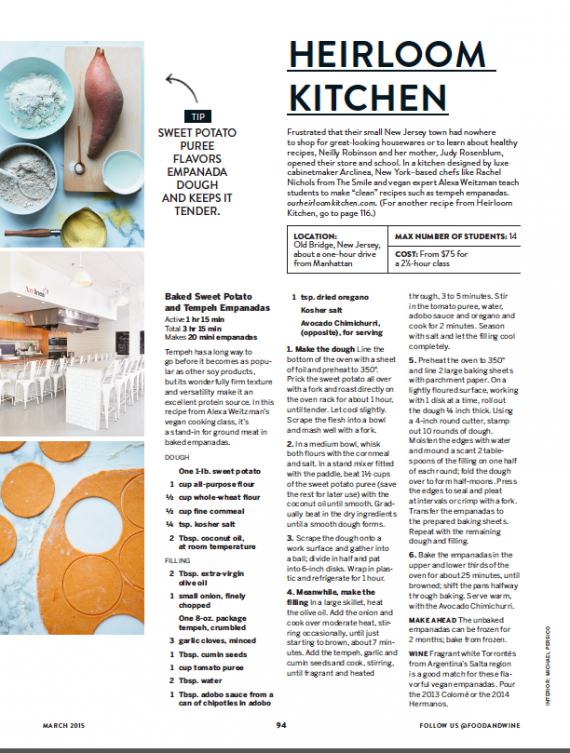
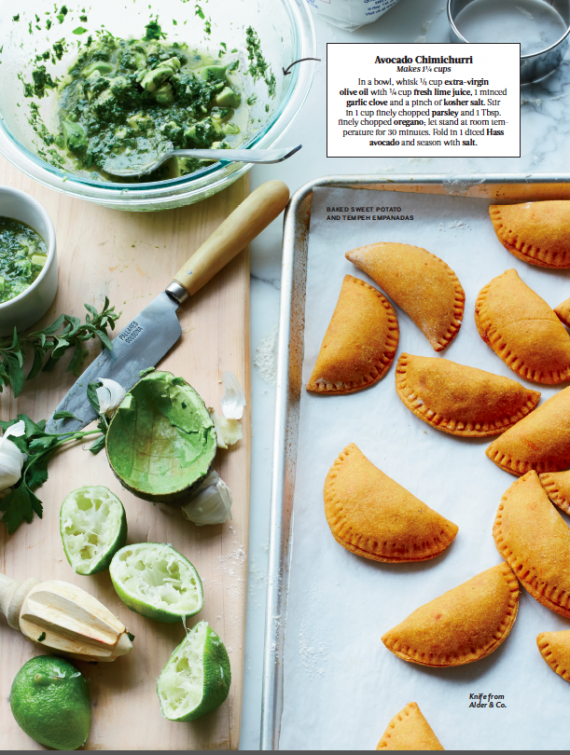
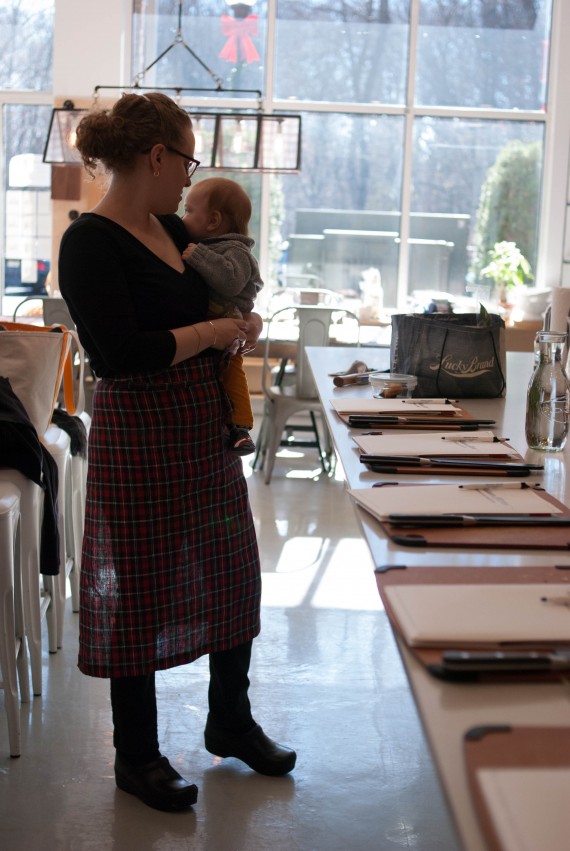
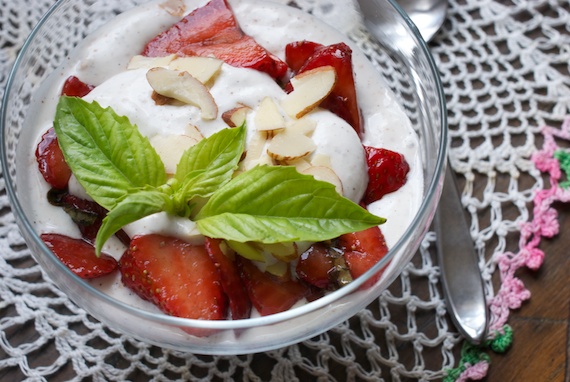
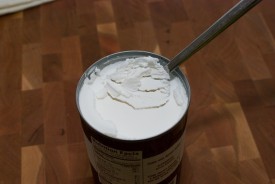
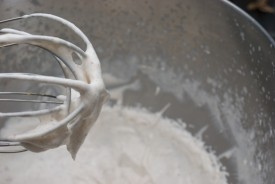
However, over the past year I’ve also done some pretty awesome cooking things, although it hasn’t been reflected on this site. I offered a series of cooking classes at an amazing kitchen store in Old Bridge, NJ: Heirloom Kitchen. If you live anywhere near there, you should check them out! They offer cooking classes and demonstrations and have a wide assortment of well-curated cooking and baking supplies. I’ve also done a few cooking demonstrations, and have been working more on my recipe development and food photography.
All that said, I’m hoping to be updating this site more regularly, but for now, until I get my new-mama act together, I’ll be cooking one-handed while the other hand squeezes my son’s cheeks.
(I do update my instagram and Facebook pages with more frequency than this blog. I also occaisonally tweet.)